A stained-glass grinder is a wet edge-shaping tool, not a replacement for cutting. It is useful when individual pieces need precise fitting before copper foiling. Before switching it on, identify the correct voltage, inspect the bit, and set up the manufacturer-specified water delivery system.
Your first goal is to take off small, controlled amounts of glass while keeping the edge supported. Forcing thick pieces into a grinding bit creates unnecessary wear and does not compensate for a badly planned score. Work methodically: one piece, inspect, refit, then move to the next.
Before you begin: set up the right conditions
Use a stable, clutter-free workstation. Keep safety glasses within reach and contain fragments, dust and slurry. Match tool voltage and operating conditions to the manual. If your work involves solder, set up effective ventilation and lead-safe hygiene practices before opening flux or heating an iron.
Equipment choice is a sequence of tradeoffs. A tool that is convenient for a small suncatcher may be poorly suited to a large lead-came panel. Match the task and the actual glass pieces instead of relying on generic five-star ratings, unexplained price rankings or marketing labels.
Choose equipment and materials deliberately
Look for manufacturers that publish real specifications, manuals and replaceable parts. Confirm the exact model name and any regional variants. When shopping on Amazon, a model-specific search can be useful for comparing offers, but the search page itself does not verify that a suitable variant is available or that a listing is genuine.
The workflow in context
Most stained-glass projects involve tracing, controlled scoring and breaking, selective wet grinding, clean foiling and careful soldering. Focus on the part relevant to your current task while preserving fit for the next stage. For example, excessive grinding can make a foil seam unusually wide and difficult to solder neatly.
A good inspection habit is to pause between operations and compare the piece against the original full-size pattern. It is easier to recut a poor shape before foiling than to disguise an inaccurate join with excessive solder.
Step-by-step instructions
Step 1: Place the grinder on a stable surface
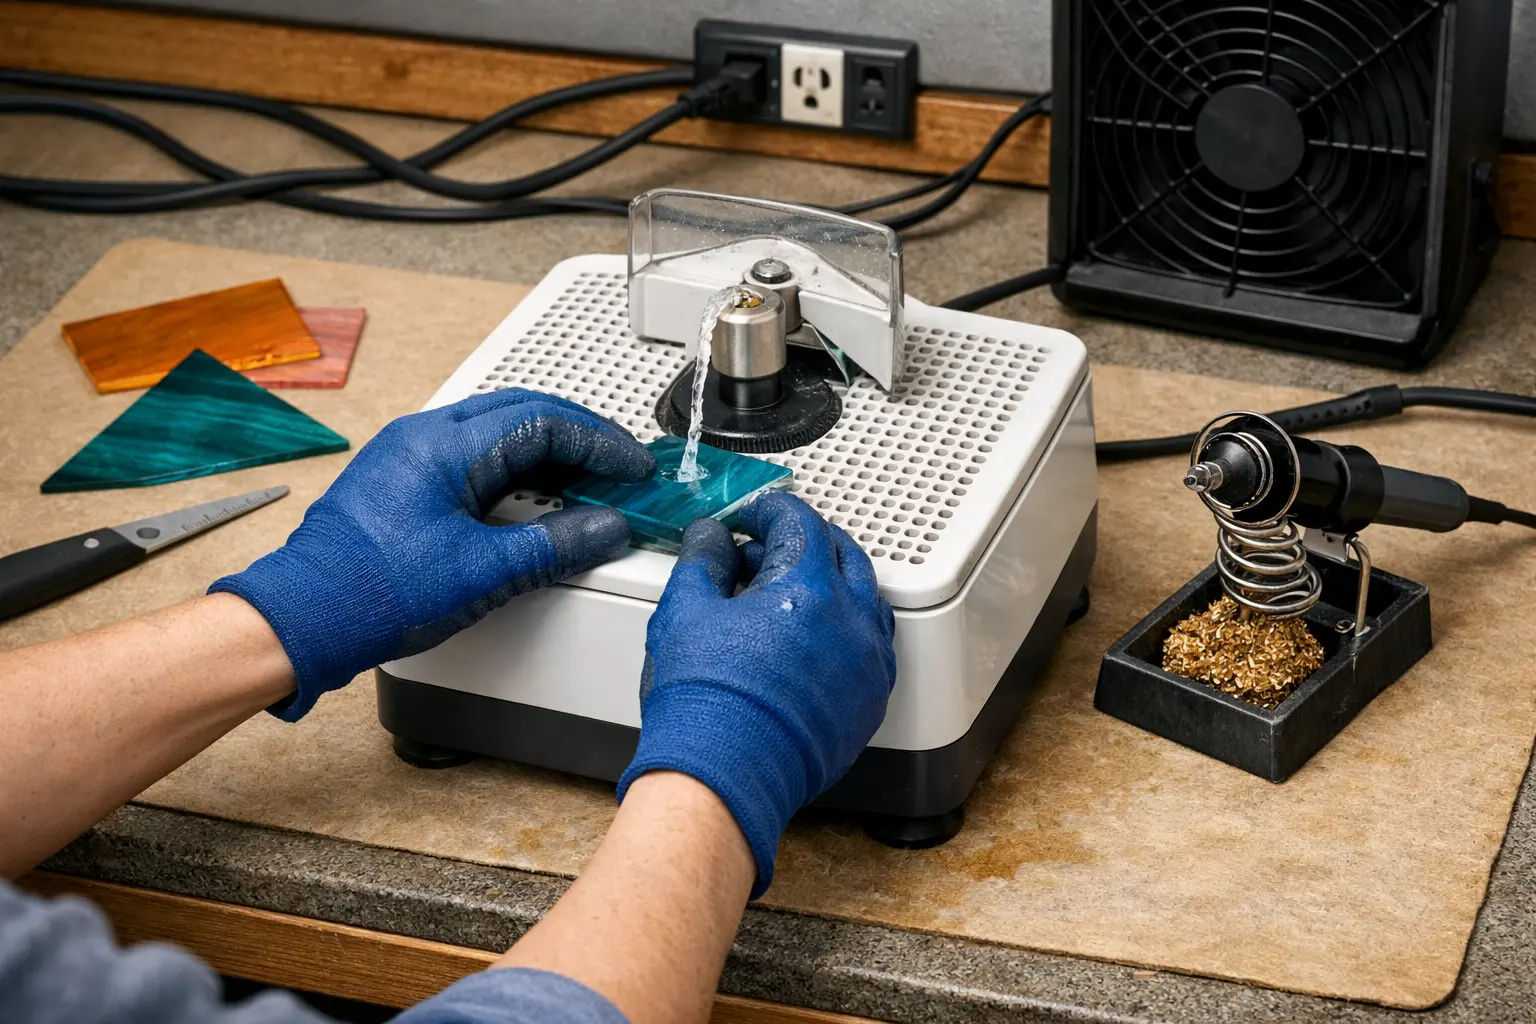
Use a level bench away from food preparation, and route electrical cords away from the water and wet grinding slurry. Follow the grinder manufacturer’s electrical safety requirements.
Step 2: Check the bit and water supply
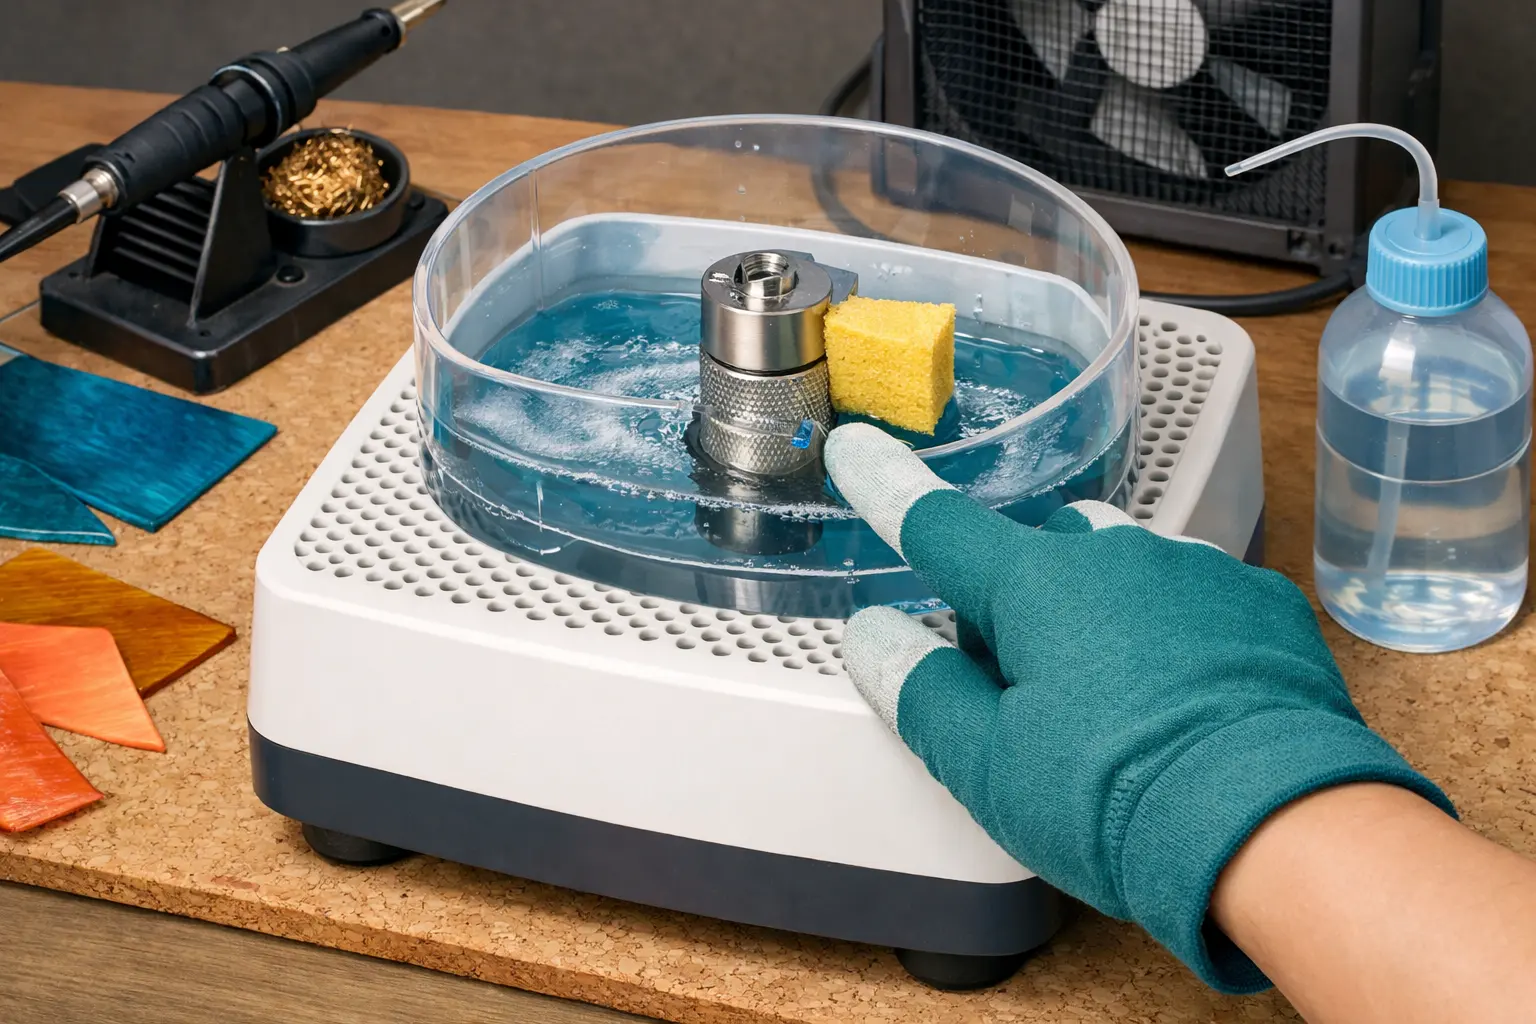
Confirm the correct diamond bit is fitted for your model, water reservoir is filled to the marked level and the sponge or brush reaches the bit as designed.
Step 3: Put on protection and start carefully

Wear eye protection and keep long hair, jewelry and loose clothing clear of moving parts. Start the grinder only after the work area is clear.
Step 4: Guide the glass edge using light pressure
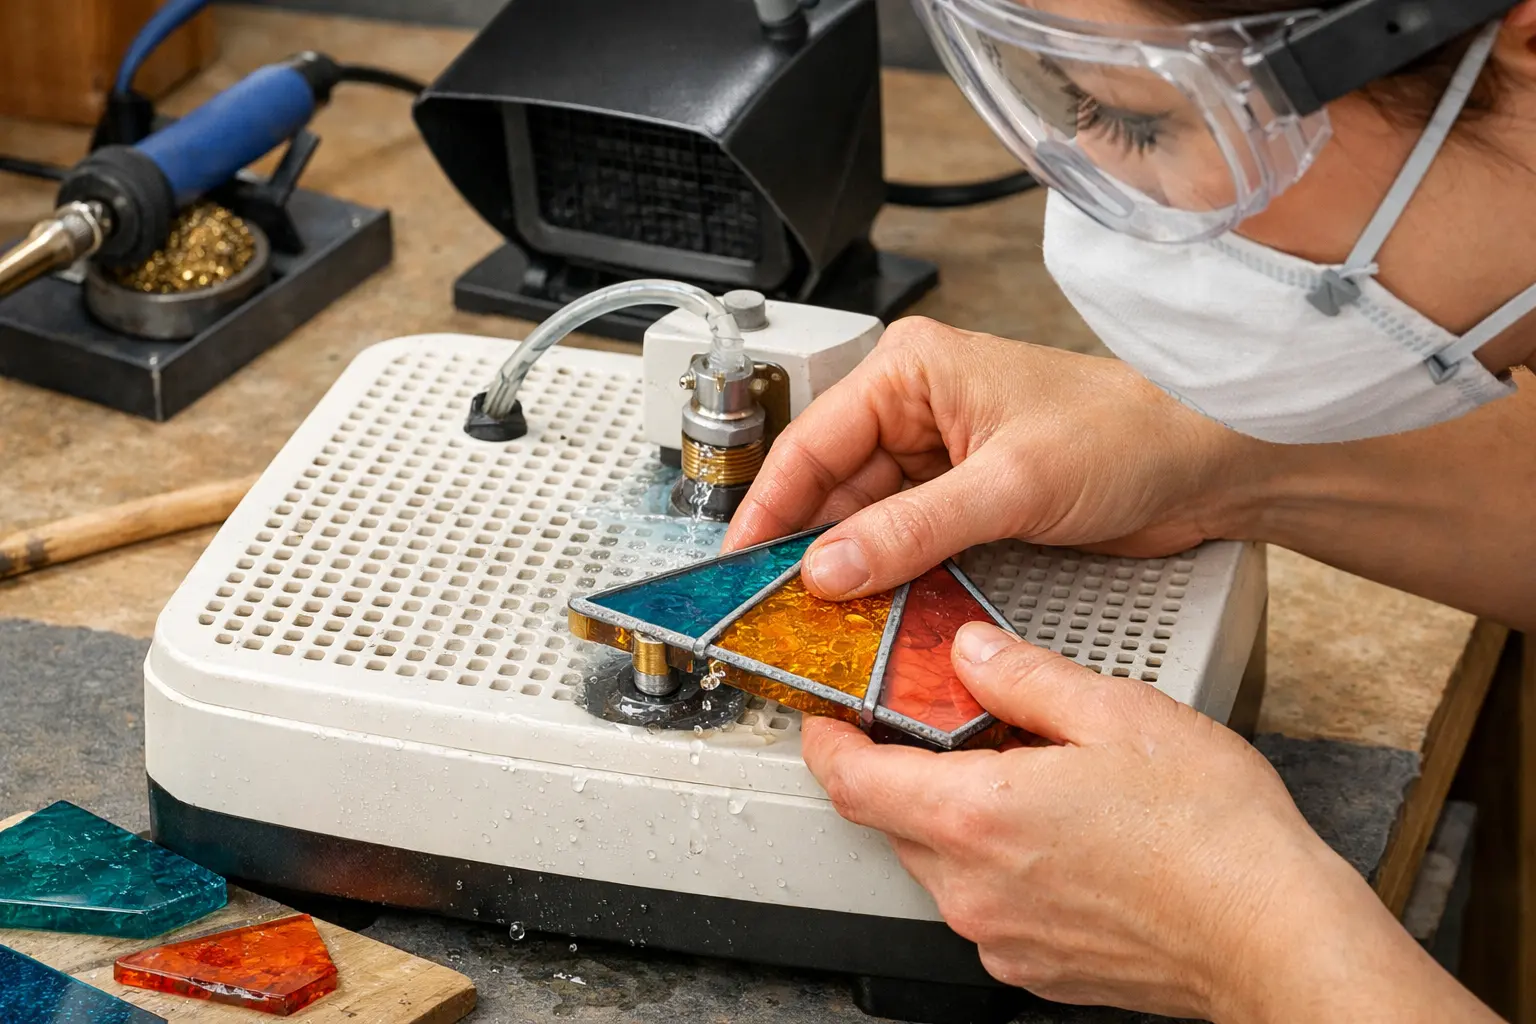
Hold the piece securely on the table and move it steadily against the bit. Remove small amounts, checking fit frequently; never use the tool as a dry grinder.
Step 5: Unplug, clean and inspect
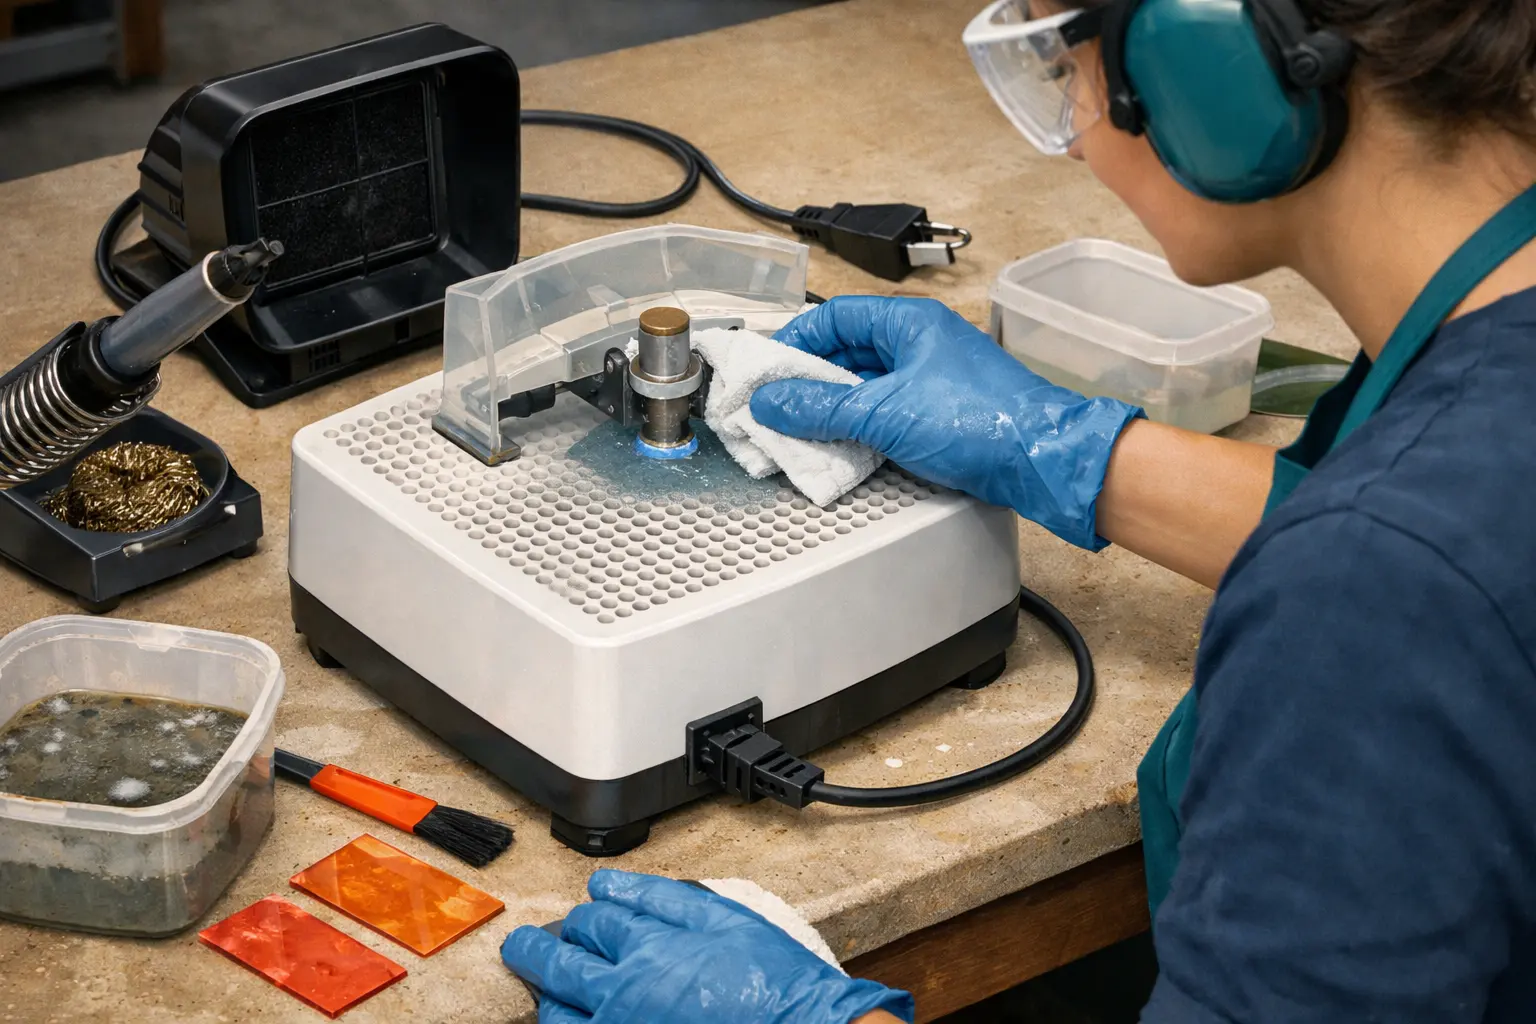
Switch off and unplug before changing bits or cleaning. Handle contaminated slurry carefully, avoiding dry sweeping or creating airborne residue.
Common problems and how to respond
- A bit that feels unusually hot can indicate insufficient coolant or excessive pressure.
- Persistent edge chipping may be due to bit grit, glass composition, heavy pressure or setup.
- Water leakage near electrical connections requires stopping and checking the setup, not continuing the operation.
- Confirm bit diameter and compatibility for the exact Inland or Techniglass model.
When should you upgrade your equipment?
Upgrade after identifying a recurring limitation in the tools you own. For beginners, handling skill and a sound process are often more useful than buying the highest-powered machine immediately. For regular makers, bigger tables, compatible detail bits or better bit-change systems can reduce friction and improve repeatability.
If you are selecting a new wet grinder, compare documented models below. Some have substantially different voltage requirements, included grinding bit sizes and accessory ecosystems. The machine with the most impressive headline number may not be the one that fits your actual bench.
Compare documented specifications, fit and limitations, or check current Amazon listings. Amazon searches may include different models.
Inland Craft WizlingCG Grinder
First regular-size grinder with a straightforward wet setup
Inland Craft WizCG Grinder
Frequent projects and detailed curves where two included bit sizes help
How this lesson connects to the rest of the craft
Continue with the complete suncatcher project to see the entire sequence. If your glass edges do not meet the pattern, read wet grinder technique. When the surface is clean and shaped correctly, move on to applying copper foil and controlled soldering.
How grinding bits change the result
A grinding bit is a consumable abrasive surface, not simply a fixed metal post. Diameter affects the inside radius it can reach, while abrasive grade influences how quickly the bit removes material and how clean the edge may appear. Machine makers specify supported bit sizes and accessories for good reasons. A standard 3/4-inch bit is useful on broad external curves, but a smaller compatible bit can access narrower areas.
When comparing machines, look at what actually arrives in the box. The Inland WizCG includes both 3/4-inch and 1/4-inch bits; the WizlingCG includes one standard 3/4-inch bit. They share a broadly similar table size, but not the same published motor torque or bundled bit set. Those details affect real project workflow more than generic claims about which product looks professional.
Wet grinding and water management
The grinder’s water system helps cool the working interface and control glass particles. Some systems use sponges that must contact the rotating bit; Techniglass describes a brush-based Aqua Flow delivery system on several models. Learn the specific reservoir fill level, water path and cleaning method for your machine. A visibly wet bit is not an excuse to ignore the manufacturer’s entire coolant procedure.
Place the grinder so splashes and slurry can be contained without trapping the motor or cord in standing water. Do not use dry sweeping to clean potentially contaminated particles. Empty and clean the reservoir in the way described by its maker, avoiding actions that spread fine residue around the room.
Sizing your bench and choosing a voltage
The surface under a pane matters just as much as the abrasive bit. If you mostly grind tiny ornaments, a compact model can feel less cumbersome. If you are finishing large panel segments, inadequate table support can cause poor control. Inland publishes a 6.5-by-6.5-inch working area for the Wiz Mini and a 14.5-by-11.5-inch area for its Wizard IV, illustrating how much the available support varies.
For use outside North America, do not assume a nominally similar plug makes a machine electrically compatible. Several Inland models in this catalog are 115V machines. Techniglass lists 110–220V compatibility for THE GRINDER 2, while its GRINDER 3 is a 110/120V product. Always verify the exact market variant and manufacturer specification before ordering.
Maintenance without damaging the machine
Remove debris from the reservoir before deposits become difficult to clean. Check the grinding bit for wear and replace it using the proper instructions, including any keys, guards or proprietary holders. Never improvise with a bit that does not fit the shaft or clamp correctly. Small problems that appear as poor glass finishing can often be traced to worn abrasives or interrupted water delivery.
With the machine unplugged, inspect visible parts for damage, abnormal looseness or obvious contamination. Do not open electrical housings or attempt wiring repairs without suitable qualifications. Replacement bit cost and availability should be considered when choosing a grinder, because every machine is an ongoing maintenance commitment rather than a one-time tool purchase.
Sources and manuals
- Inland Craft: Grinder Instruction Manualsinlandcraft.com
- Inland Craft: WizCG Product Detailsinlandcraft.com