Copper foil allows solder to join separate glass pieces. The foil adheres around the cleaned glass edge and provides a metal surface on both faces. Consistent centering, adhesion and burnishing matter more than rushing through a pile of pieces.
Foil width should suit glass thickness and the solder seam you want. Clear glass also makes foil backing color relevant: copper-, black- and silver-backed tapes create different visual impressions under the finished bead. Select based on the intended finish, not just price.
Before you begin: set up the right conditions
Use a stable, clutter-free workstation. Keep safety glasses within reach and contain fragments, dust and slurry. Match tool voltage and operating conditions to the manual. If your work involves solder, set up effective ventilation and lead-safe hygiene practices before opening flux or heating an iron.
Equipment choice is a sequence of tradeoffs. A tool that is convenient for a small suncatcher may be poorly suited to a large lead-came panel. Match the task and the actual glass pieces instead of relying on generic five-star ratings, unexplained price rankings or marketing labels.
Choose equipment and materials deliberately
Look for manufacturers that publish real specifications, manuals and replaceable parts. Confirm the exact model name and any regional variants. When shopping on Amazon, a model-specific search can be useful for comparing offers, but the search page itself does not verify that a suitable variant is available or that a listing is genuine.
The workflow in context
Most stained-glass projects involve tracing, controlled scoring and breaking, selective wet grinding, clean foiling and careful soldering. Focus on the part relevant to your current task while preserving fit for the next stage. For example, excessive grinding can make a foil seam unusually wide and difficult to solder neatly.
A good inspection habit is to pause between operations and compare the piece against the original full-size pattern. It is easier to recut a poor shape before foiling than to disguise an inaccurate join with excessive solder.
Step-by-step instructions
Step 1: Make a dry fit before opening foil

Arrange all cut and ground pieces on the original pattern. Resolve major gaps and edge problems now instead of trying to hide them with solder.
Step 2: Clean and completely dry glass edges
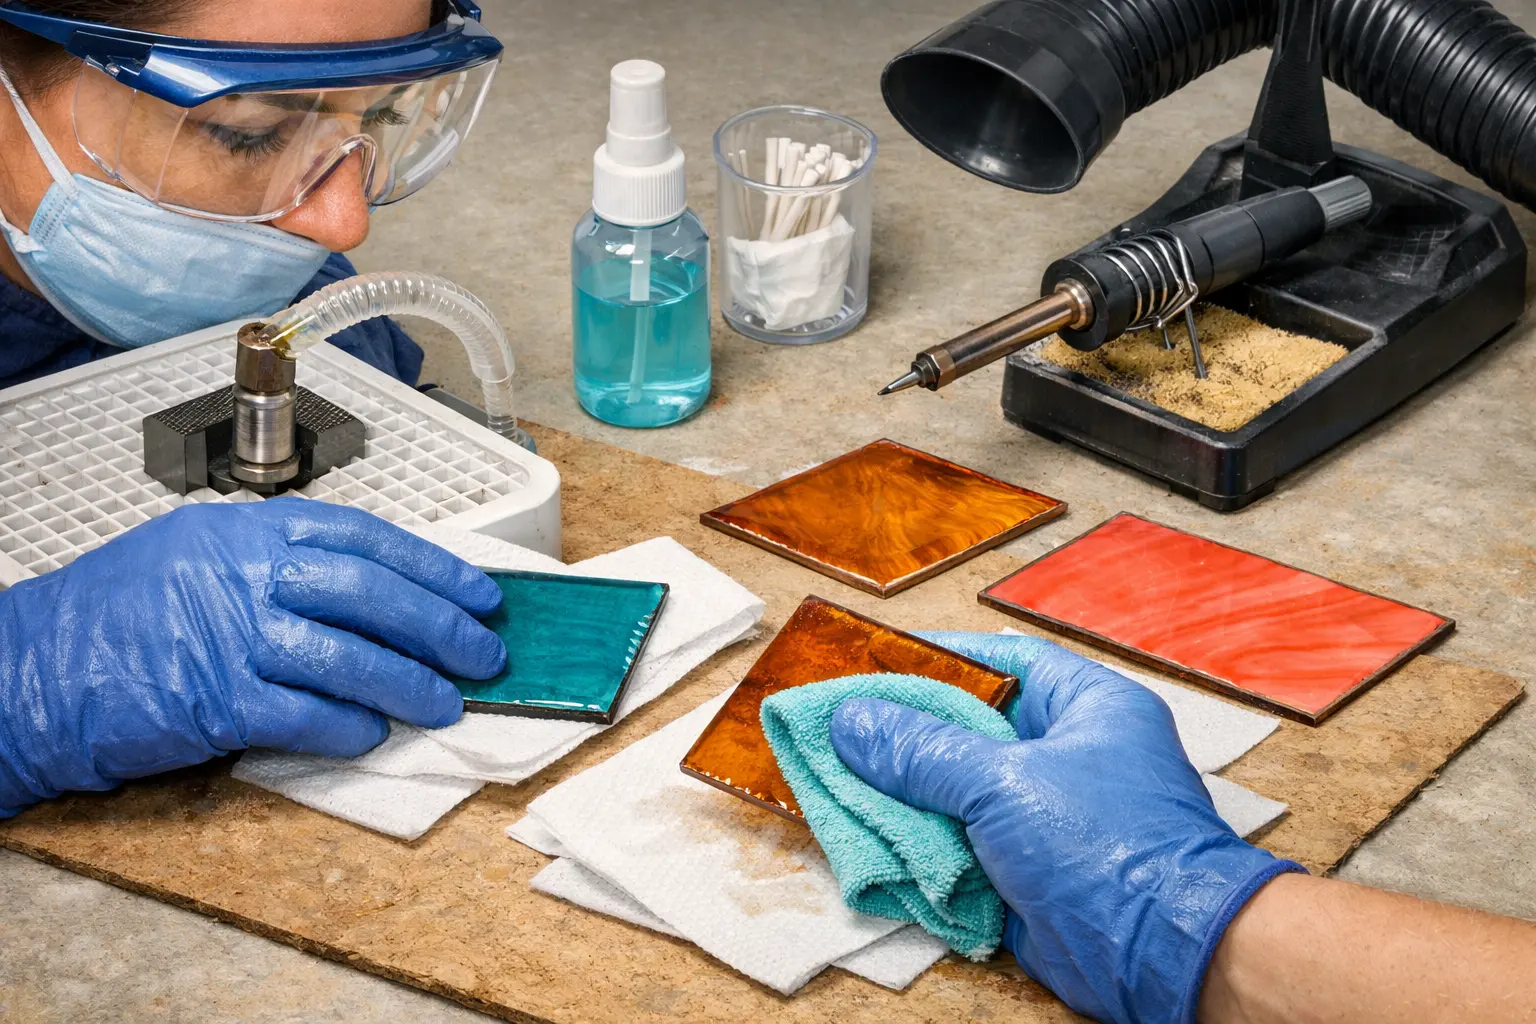
Remove wet-grinding slurry and oils with an appropriate cleaner, then dry the edges. Tape adhesive struggles on dirty or damp glass.
Step 3: Center the copper foil

Unroll the foil gradually while checking even overlap on both glass faces. Avoid starting on a sharp external corner when possible.
Step 4: Join tape ends and fold both sides
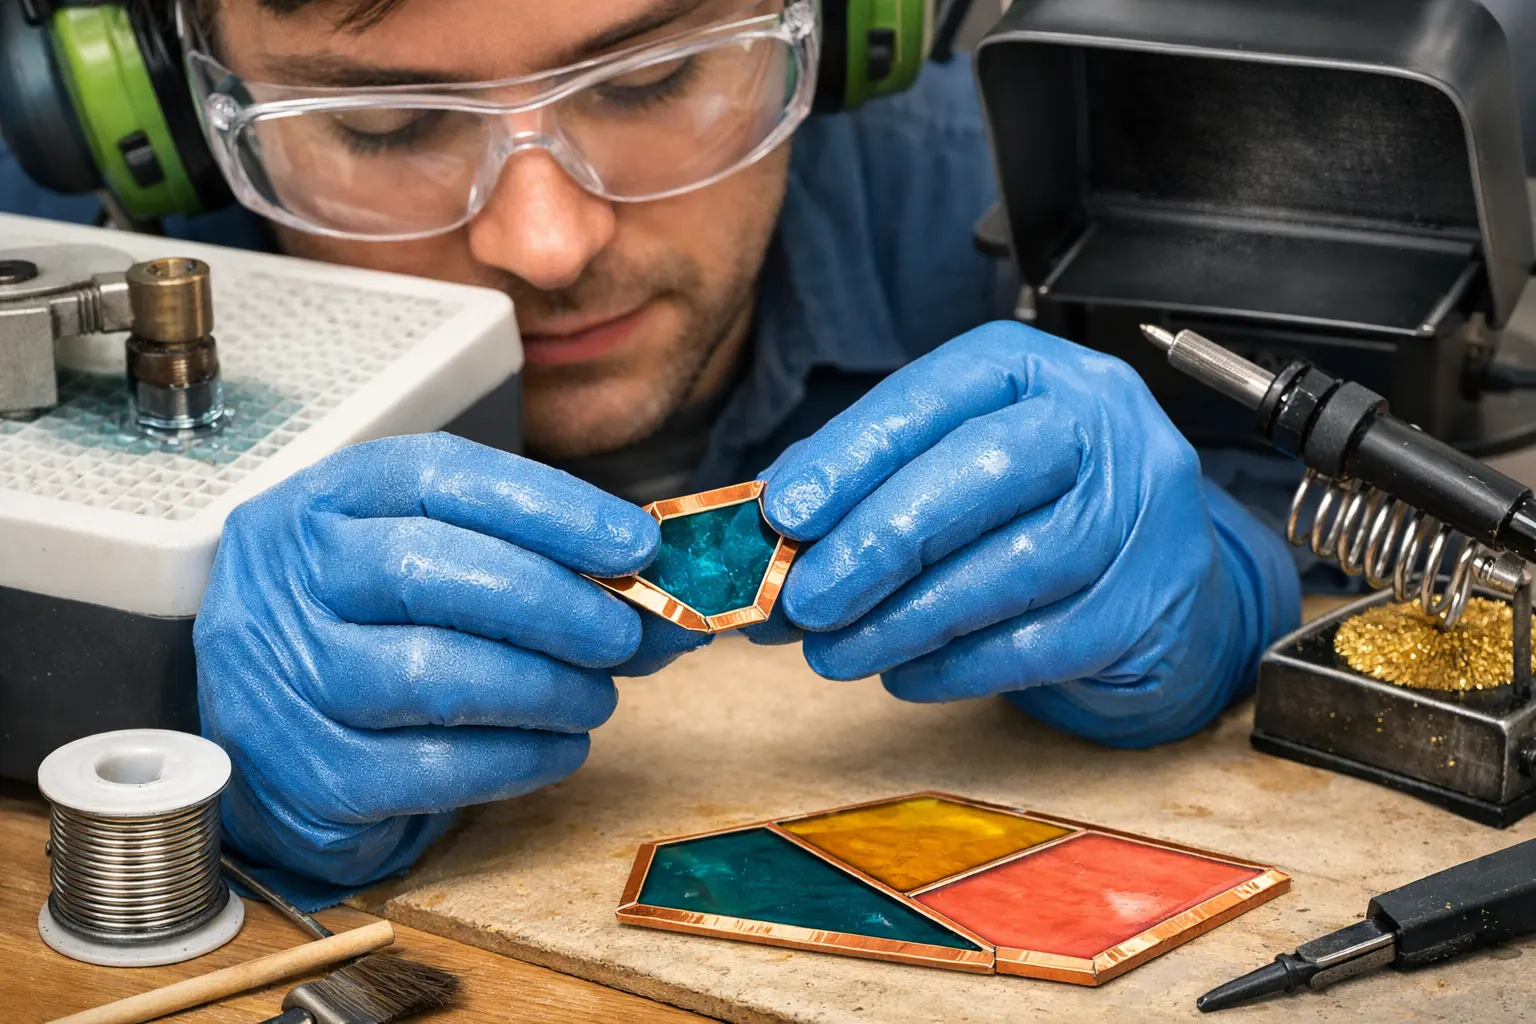
Keep the end overlap neat and close down foil wings uniformly. Uneven folded edges lead to noticeably uneven seam widths.
Step 5: Burnish without tearing

Use a purpose-made fid or a smooth burnishing tool to seat foil against edges and faces. Check corners, overlaps and every small radiused bend.
Step 6: Inspect before soldering

Replace lifting or punctured sections rather than relying on flux or solder to repair adhesion. Keep foiled pieces clean until assembly.
Common problems and how to respond
- Foil peeling often begins with residue from wet grinding or poor drying.
- Too little foil width gives a narrow solder target and can leave missing metal coverage.
- Too much width may overwhelm small decorative glass pieces with solder.
- Do not leave unsoldered foil exposed for unnecessarily long periods if it begins oxidizing.
When should you upgrade your equipment?
Upgrade after identifying a recurring limitation in the tools you own. For beginners, handling skill and a sound process are often more useful than buying the highest-powered machine immediately. For regular makers, bigger tables, compatible detail bits or better bit-change systems can reduce friction and improve repeatability.
If you are selecting a new wet grinder, compare documented models below. Some have substantially different voltage requirements, included grinding bit sizes and accessory ecosystems. The machine with the most impressive headline number may not be the one that fits your actual bench.
Compare documented specifications, fit and limitations, or check current Amazon listings. Amazon searches may include different models.
Inland Craft WizlingCG Grinder
First regular-size grinder with a straightforward wet setup
Inland Craft WizCG Grinder
Frequent projects and detailed curves where two included bit sizes help
How this lesson connects to the rest of the craft
Continue with the complete suncatcher project to see the entire sequence. If your glass edges do not meet the pattern, read wet grinder technique. When the surface is clean and shaped correctly, move on to applying copper foil and controlled soldering.
Choosing a foil width without guessing
Foil width has to wrap around the glass edge and still leave enough metal on both faces for solder to adhere. Too little overlap makes the seam unreliable; excessive overlap can overwhelm a tiny piece. The appropriate width depends on actual glass thickness, how wide you want the finished bead and whether the design involves large or narrow elements. It is worth testing a short piece of foil on an offcut before preparing the whole project.
Backing color becomes more noticeable on transparent glass. A black-backed foil can visually blend with dark patina, while silver-backed versions may look less conspicuous under a bright silver finish. Copper backing is another option. Do not assume backing is purely cosmetic: its visibility can change whether a narrow colorless pane looks neat when light is passing through it.
The importance of cleaning after the grinder
Foil is adhesive tape and its bond depends heavily on the glass edge. Wet grinding leaves water, tiny glass residue and sometimes deposits from the working surface. A piece that looks clean from the front may still be wet at the edge. Clean according to the glass and foil manufacturer’s advice, then let it dry completely before applying tape.
Choose a small area on the bench for foiling rather than working next to an active grinder. A dry towel or suitable clean surface prevents freshly prepared pieces from immediately collecting new slurry. Handle cleaned edges by their flat surfaces where possible, so skin oil does not undermine the tape.
Corners, small shapes and awkward curves
On a broad straight edge, centering the tape is usually straightforward. At a sharply changing curve, one side can wrinkle while the other becomes too narrow. Work in smaller increments and check both faces frequently. If the foil is badly misaligned, pull it off and replace it; forcing creases flat may create weak adhesive spots that lift when heated.
Burnishing should flatten the foil without puncturing it. Use a smooth fid and move carefully around each corner instead of scraping aggressively back and forth. On very small pieces, the best result often comes from preparing fewer at a time and inspecting them under bright light before soldering begins.
When the foil looks good but solder does not flow
Foil adhesion and solder wetting are separate issues. Tape can be firmly attached while its surface is oxidized or contaminated. Flux and iron setup then matter. Do not keep heating one area in the hope that poor preparation will resolve itself; adhesive and nearby glass may be harmed by prolonged heat.
If a foiled piece has been sitting for an extended period, examine the copper surface and seek the foil maker’s guidance on oxidation and preparation. Resolve structural layout before fluxing. Solder can join the metal but should not be used as a thick filler to correct a badly matched glass pattern.
Sources and manuals
- Delphi Glass: Foiling Glasswww.delphiglass.com
- Delphi Glass: Getting Started in Stained Glasswww.delphiglass.com