Cutting glass is fundamentally scoring and controlled breaking, not sawing through with a handheld cutter. The right score is a continuous surface fracture; pressing harder does not automatically improve accuracy. Start on flat, clean glass, work from a precise pattern, and pay attention to how curves affect the likely break path.
The most common beginner mistake is trying to score the exact curve and then force all remaining glass away in a single break. Split complex outside areas into safer, shorter operations and consider whether a grinder should handle small corrections. Glass textures, thickness and coatings can change scoring behavior.
Before you begin: set up the right conditions
Use a stable, clutter-free workstation. Keep safety glasses within reach and contain fragments, dust and slurry. Match tool voltage and operating conditions to the manual. If your work involves solder, set up effective ventilation and lead-safe hygiene practices before opening flux or heating an iron.
Equipment choice is a sequence of tradeoffs. A tool that is convenient for a small suncatcher may be poorly suited to a large lead-came panel. Match the task and the actual glass pieces instead of relying on generic five-star ratings, unexplained price rankings or marketing labels.
Choose equipment and materials deliberately
Look for manufacturers that publish real specifications, manuals and replaceable parts. Confirm the exact model name and any regional variants. When shopping on Amazon, a model-specific search can be useful for comparing offers, but the search page itself does not verify that a suitable variant is available or that a listing is genuine.
The workflow in context
Most stained-glass projects involve tracing, controlled scoring and breaking, selective wet grinding, clean foiling and careful soldering. Focus on the part relevant to your current task while preserving fit for the next stage. For example, excessive grinding can make a foil seam unusually wide and difficult to solder neatly.
A good inspection habit is to pause between operations and compare the piece against the original full-size pattern. It is easier to recut a poor shape before foiling than to disguise an inaccurate join with excessive solder.
Step-by-step instructions
Step 1: Inspect the pattern and choose a cut path
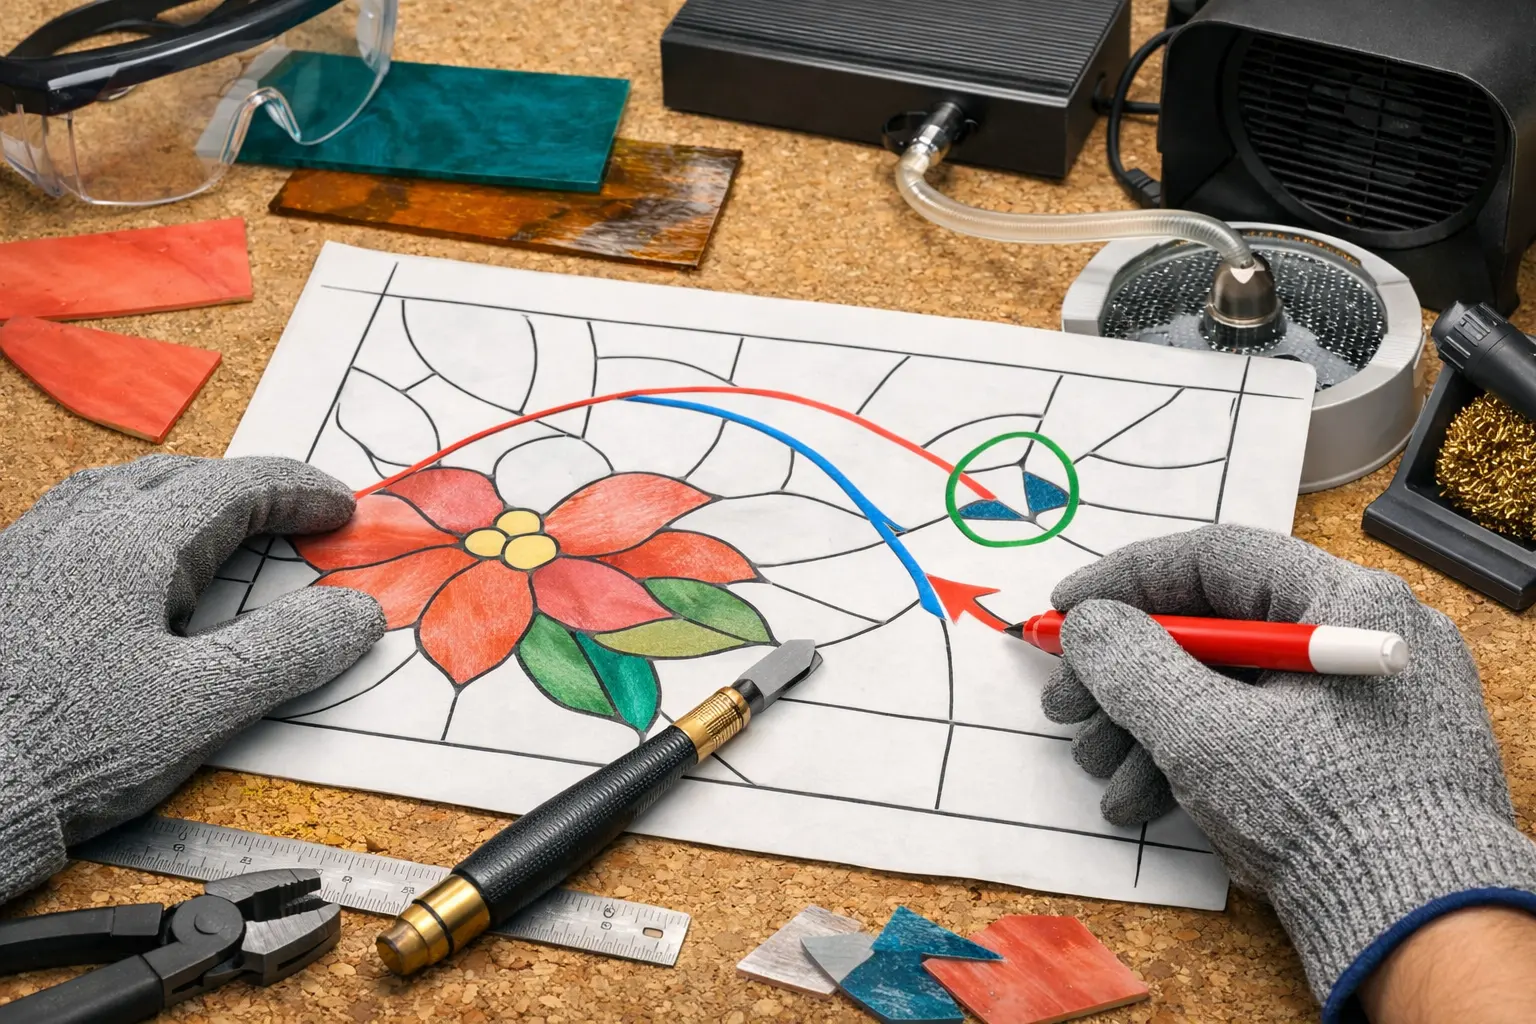
Identify long straight scores, easy curves and difficult inside corners. Leave allowance for any grinding and avoid committing to a delicate glass tip that will be hard to support.
Step 2: Prepare the support surface
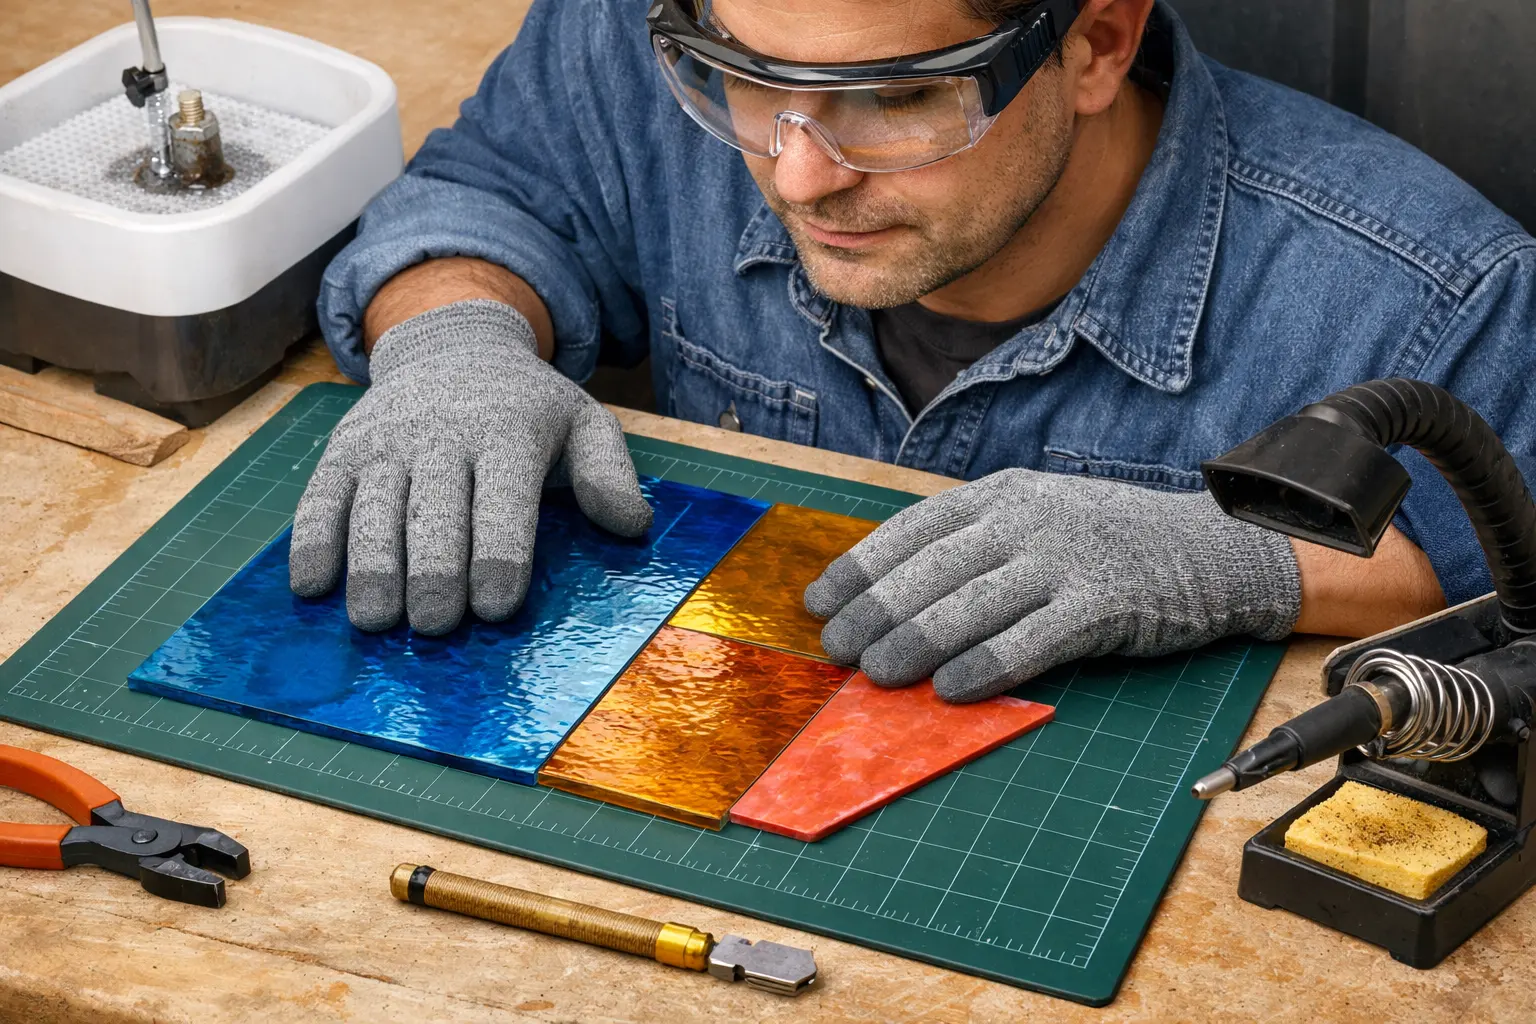
Remove gritty debris under the sheet. Place glass on a flat cutting mat, choose safe hand positions and wear appropriate impact-resistant eye protection.
Step 3: Score in one continuous controlled pass
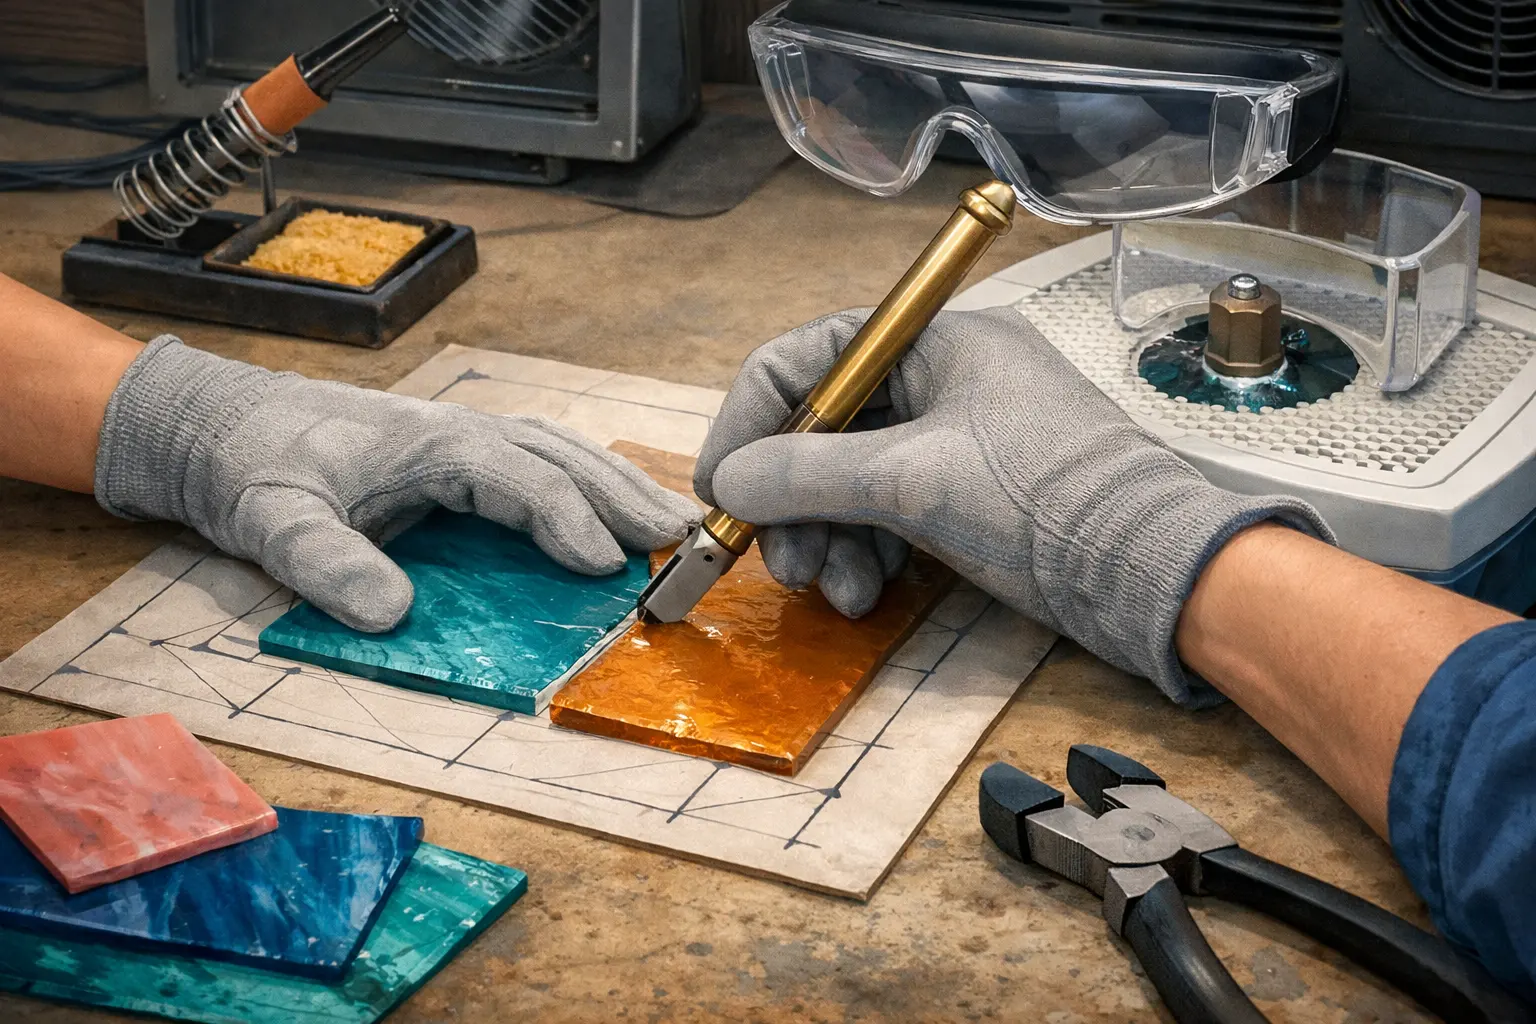
Hold the cutter at the recommended angle with an even motion. Use one score along each intended break line; do not repeatedly run the wheel over a prior score.
Step 4: Break over the scored line
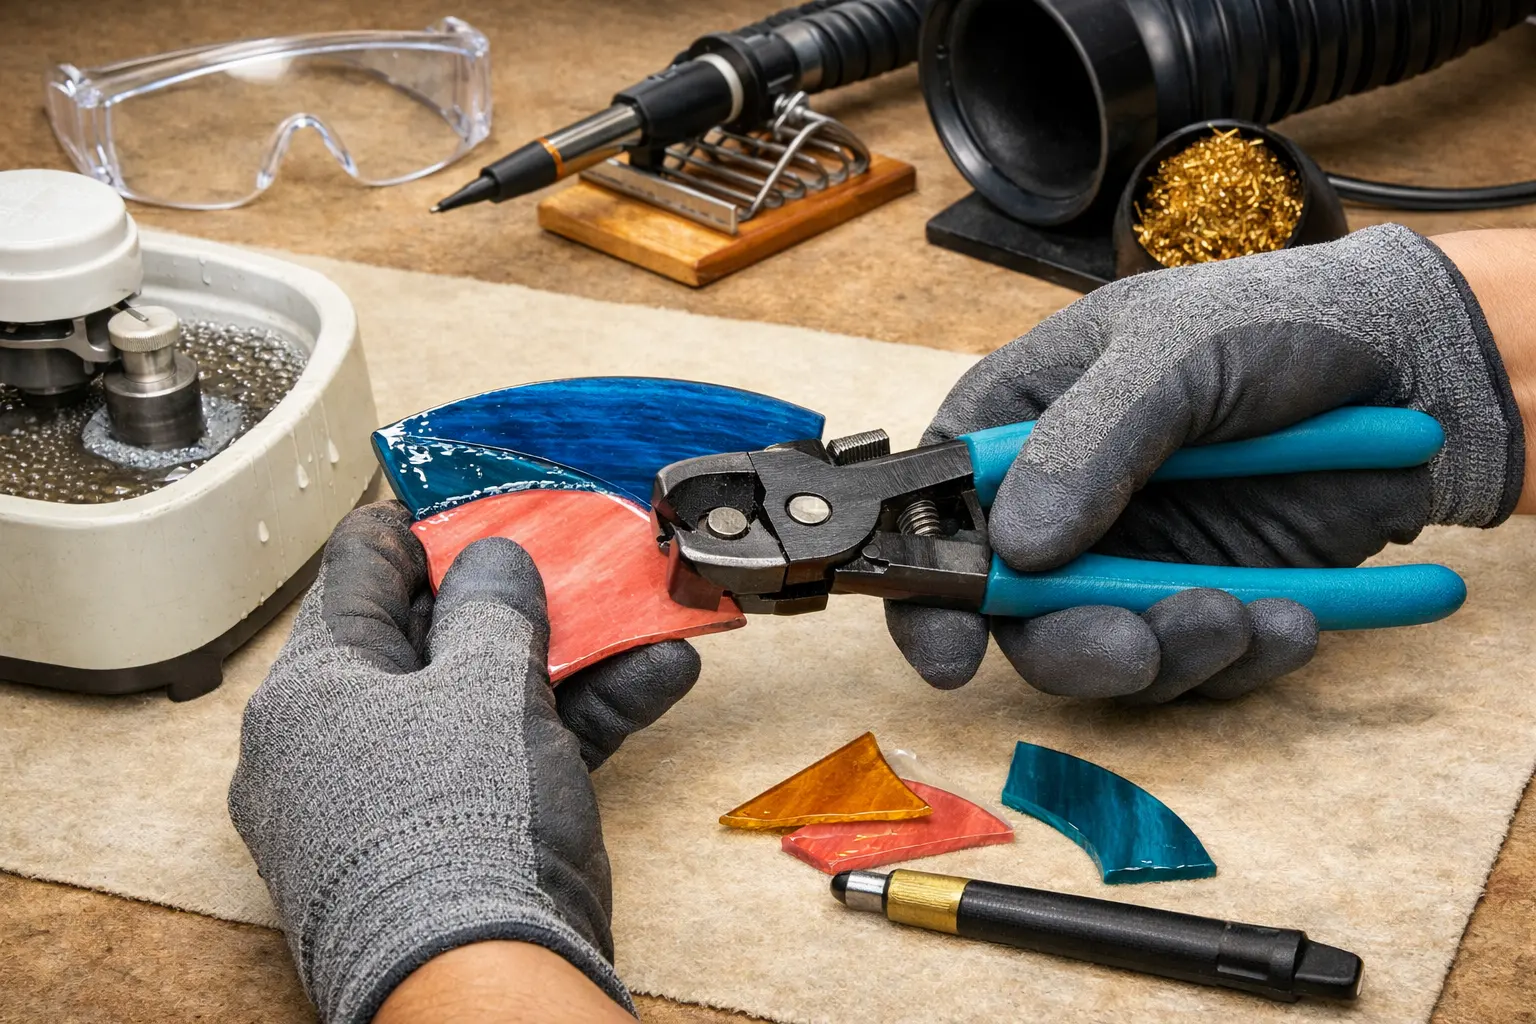
Support the glass and use correctly oriented running pliers for controlled breaks. Keep fingers away from fragment paths, and stop if a curve begins breaking unpredictably.
Step 5: Refine safely and recheck fit
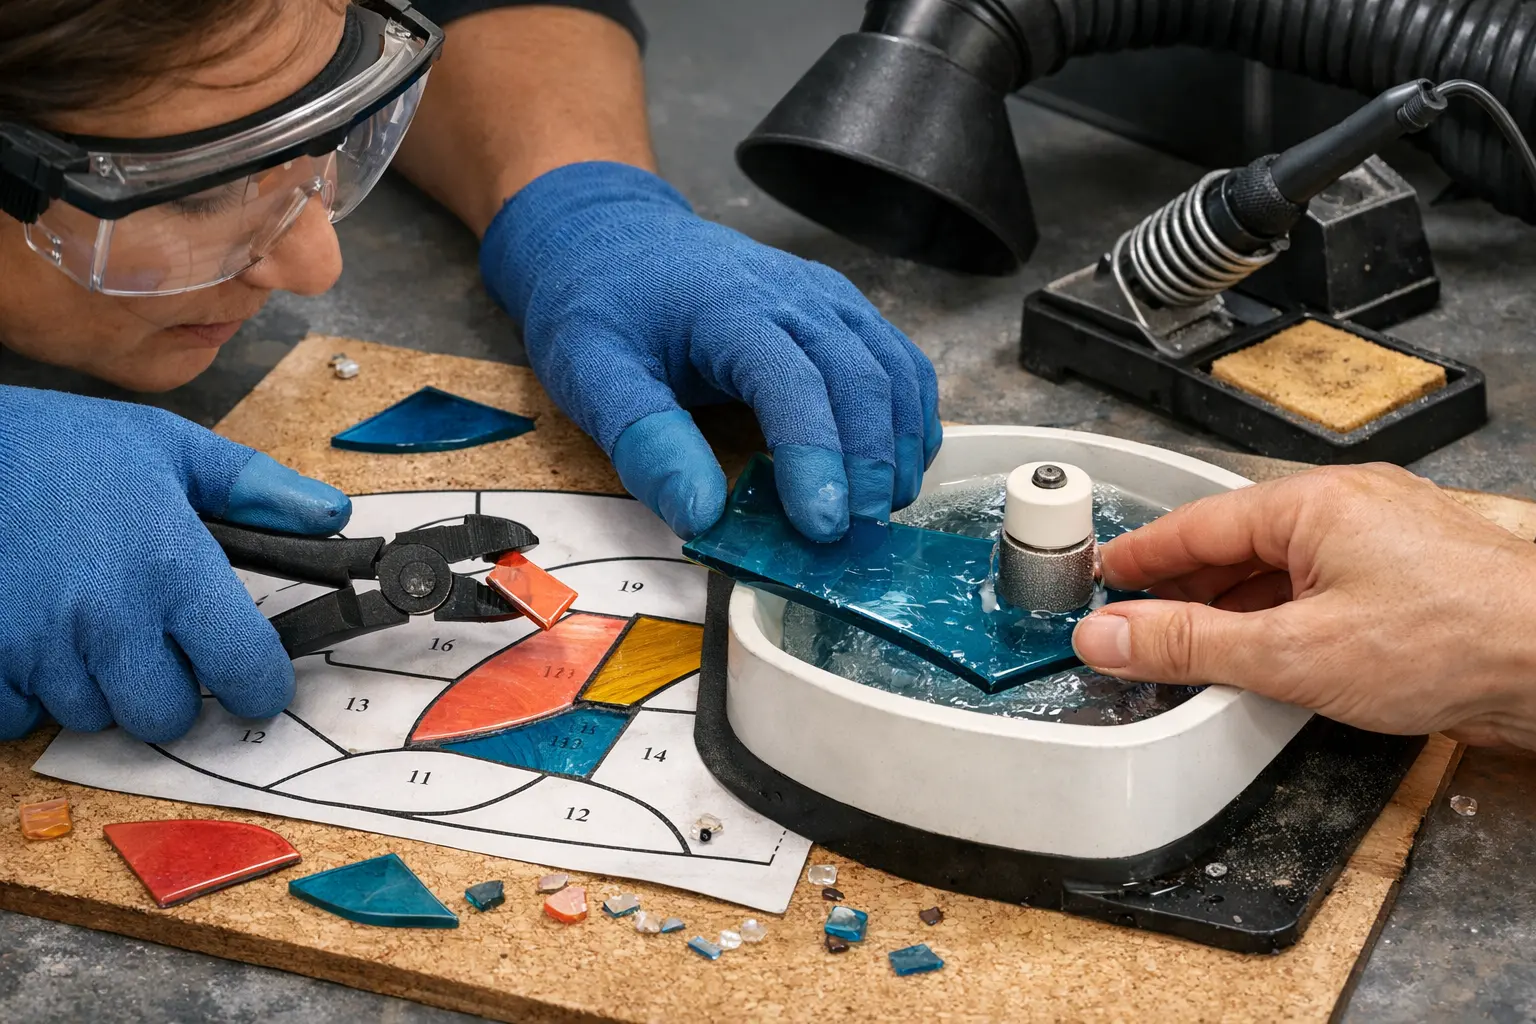
Use grozing tools for small corrections, then a water-cooled grinder as needed. Check pieces against the template rather than relying on remembered dimensions.
Common problems and how to respond
- A score that looks too heavy may create chips rather than a better controlled fracture.
- A shallow or interrupted score can wander when opened.
- A curve that terminates too close to the edge may break outward rather than follow the drawing.
- Do not grind glass dry or attempt to break a complex inner radius by forcing the sheet.
When should you upgrade your equipment?
Upgrade after identifying a recurring limitation in the tools you own. For beginners, handling skill and a sound process are often more useful than buying the highest-powered machine immediately. For regular makers, bigger tables, compatible detail bits or better bit-change systems can reduce friction and improve repeatability.
If you are selecting a new wet grinder, compare documented models below. Some have substantially different voltage requirements, included grinding bit sizes and accessory ecosystems. The machine with the most impressive headline number may not be the one that fits your actual bench.
Compare documented specifications, fit and limitations, or check current Amazon listings. Amazon searches may include different models.
Inland Craft WizlingCG Grinder
First regular-size grinder with a straightforward wet setup
Inland Craft WizCG Grinder
Frequent projects and detailed curves where two included bit sizes help
How this lesson connects to the rest of the craft
Continue with the complete suncatcher project to see the entire sequence. If your glass edges do not meet the pattern, read wet grinder technique. When the surface is clean and shaped correctly, move on to applying copper foil and controlled soldering.
Why a score follows some curves but not others
Glass does not behave like paper or fabric under a cutting wheel. The score establishes a preferred fracture path, and a controlled break opens that fracture through the thickness of the sheet. Straight lines and broad curves are easier because the force can be distributed along the path. Tight internal corners, narrow tapers and thick textured sheets can redirect the crack toward a nearby edge, even when the drawn line looks reasonable.
When studying a pattern, look for places where the waste glass has nowhere to move after a score. Reorganize those areas into a sequence of accessible cuts, or redesign an overly complex curve so that the finishing grinder can handle the final small refinement. This is more efficient than repeatedly ruining expensive pieces on a line that is mechanically difficult to break.
Use the right pliers at the right moment
Running pliers help open a properly made score by applying a controlled force across it. Grozing or breaker pliers are better suited to some small edge corrections and controlled nibbling. They solve different tasks and are not substitutes for a good score. Correct orientation and support matter; a forceful twist can damage an otherwise usable segment.
To diagnose a failure, ask whether the initial score was continuous, whether the glass was supported evenly and whether the tool was actually suited to the geometry. Make a test cut on a similar offcut using a simpler line. If the problem disappears, the original pattern or break sequence—not necessarily the cutter—is likely the source of difficulty.
Cutting colored, textured and directional glass
Handmade and textured glass can have directionality, thickness differences and surfaces that are more awkward to score. Before cutting a major design piece, inspect both sides and consult the glass supplier’s cutting advice if the sheet has an unusual coating or texture. Mark orientation on the pattern so a repaired segment does not reverse the visual grain.
When several pieces must align visually, cut them from adjacent sheet areas when possible. Transparency and transmitted color can vary across one large sheet. This is especially important for repeated flower petals or geometric border sections. A well-planned layout can conserve glass, but do not pack patterns so tightly that waste pieces cannot be broken away safely.
A practice routine that improves accuracy
Practice on clean compatible scrap before opening an expensive sheet. Draw three straight lines and three gentle curves, then compare the edges after breaking. Look for a score that is smooth and continuous rather than deeply crushed. Note your hand position, wheel travel speed and where the support sat as each piece opened.
Keep the samples that broke well and badly. Put them side by side to find repeatable mistakes. If you regularly need to remove large amounts of glass on the grinder, focus on the original score and break accuracy. Grinding is for correction and fitting; it should not become the entire cutting process.
Sources and manuals
- Delphi Glass: Getting Started in Stained Glasswww.delphiglass.com
- Inland Craft: Grinder Instruction Manualsinlandcraft.com