Quick answer: A stained-glass butterfly suncatcher is an attractive first or second project when the pattern uses broad, cuttable wing shapes and a reinforced, practical hanging plan. The challenge is not drawing a convincing butterfly; it is translating thin antennae, symmetry and inward wing notches into glass pieces that can actually be scored, broken, ground, foiled and soldered safely. Start with generous curves and a compact lightweight outline.
Research basis: manufacturer and specialist documentation linked below. This is independent buying and workshop guidance, not a claim of hands-on testing.
Build the silhouette from cuttable parts
Divide each wing into two or three generous glass sections rather than trying to cut an intricate lacework outline. Consider making the narrow body a metal accent or structurally supported central join instead of an extremely thin glass strip. A small inside corner where the wing meets the body can be a fracture risk. Round that transition or separate the shape into segments with more forgiving score lines.
Use approximate symmetry, not mirror-copy rigidity
Trace one wing and reflect the major landmarks for a balanced silhouette, then allow small differences that make individual glass cutting practical. Number the pattern pieces and keep an untouched master. A mathematically perfect reflection may still be a poor glass pattern if one side falls on an awkward texture or narrow offcut. The priority is a stable, readable design in transmitted light.
Pick a glass palette with light in mind
Select two complementary wing colors plus a deeper center accent. Transparent glass can create a luminous effect but also make copper foil backing visible; opalescent glass offers a different feel. Strong contrasts help the butterfly remain legible against a busy garden view. Avoid overcomplicating the palette: several small color scraps may add unwanted foil seams that consume the wing shape.
Plan cutting and grinding
Score long gentle curves as controlled single lines and use appropriate pliers for each break. Test the most difficult wing shape on scrap first. Grind with water, use a compatible bit and check pieces against the master rather than grinding until they appear visually similar. If a piece becomes too small, remake it—solder is not intended to fill an ever-widening gap across a delicate wing tip.
Think about antennae and hanging support
Delicate antennae formed from unsupported glass are easily broken. Suitable solderable wire or an approved decorative metal approach may be more realistic, but its integration and stability must be designed rather than improvised. Place hanging connections near reinforced load paths. For a lightweight butterfly with one top ring, check whether it tilts; two properly supported points may help orientation but do not guarantee strength.
Finish for light and handling
Clean flux residues and finish the metal as the chosen products require, protecting the glass and avoiding contaminating household surfaces. Test the orientation at a safe low height before displaying. A butterfly suncatcher should not become a sharp swinging hazard near an openable window or where a child or pet can reach it. Link to the complete suncatcher tutorial for the full copper-foil process.
A paper-template exercise for symmetrical wings
Draw the butterfly body as a centerline and sketch only one wing. Cut its shape from paper, reflect it, and mark the positions where two or three colored glass regions could meet. Look for any enclosed acute angles and redraw them as cuttable curves. Then place the paper shapes on scrap glass so you can see which scores are physically possible. Perfect bilateral symmetry is not required, but the major wing shapes should balance visually. This exercise also exposes fragile tips that might crack during foiling or hanging.
Make the decoration subordinate to good construction
Tiny spots, eye shapes and narrow edge stripes look dramatic in illustrations but may become unmanageable glass pieces. Use color or texture within larger regions instead of subdividing every detail into separate panes. If a delicate antenna is essential, consider a properly supported solderable metal element rather than a thin glass projection; choose hardware compatible with the planned construction. Keep load-bearing hanging points independent of purely cosmetic extremities. A butterfly that hangs securely and shows attractive color from a few feet away has achieved more than one with intricate but fragile details.
A manageable first butterfly shopping basket
Start with a small selection of art glass in compatible thicknesses, copper foil of a verified suitable width, a cutter with pliers, access to a safe wet grinder, burnishing tools and a supported soldering setup. You do not need every specialty mini-grinder bit simply because the subject is a butterfly. If your pattern requires constant tiny interior grinds, simplify the wing outline first. Keep the pattern and tool purchases linked: determine one hard feature, identify a technique that can execute it, then buy only a compatible accessory if the need remains.
Practical decision checklist
Before committing to a purchase or technique, answer these three questions using the actual glass, machine and project you have in front of you. A clear checklist is more reliable than generic product ratings.
- Use broad wing sections and a realistic central join
- Keep antennae and wing tips out of fragile glass geometries
- Plan adequate hanging support before foil and solder
Working notes: avoid predictable mistakes
A visually appealing reference photo may hide unsupported narrow pieces or a hanging arrangement that is not suitable for the finished weight. Draw every part at actual scale and identify how it will be cut, broken, supported and joined. Redesign the pattern wherever a shape depends on an impossible score or a fragile load path.
A strong project plan also includes finishing and display. Think through the attachment points, window movement, cleaning method, potential contact with children or animals, and whether the selected glass is fragile or coated. A small, simpler design properly assembled is a better result than an elaborate silhouette whose tips or hanging hardware fail.
Step-by-step procedure
Use this sequence as a planning aid. Follow the specific cutter, grinder, solder and project manufacturer instructions, with suitable safety controls. Illustrations queued for these steps are explanatory artwork, not verified demonstrations of a real test.
Step 1: Sketch a butterfly with broad wing shapes
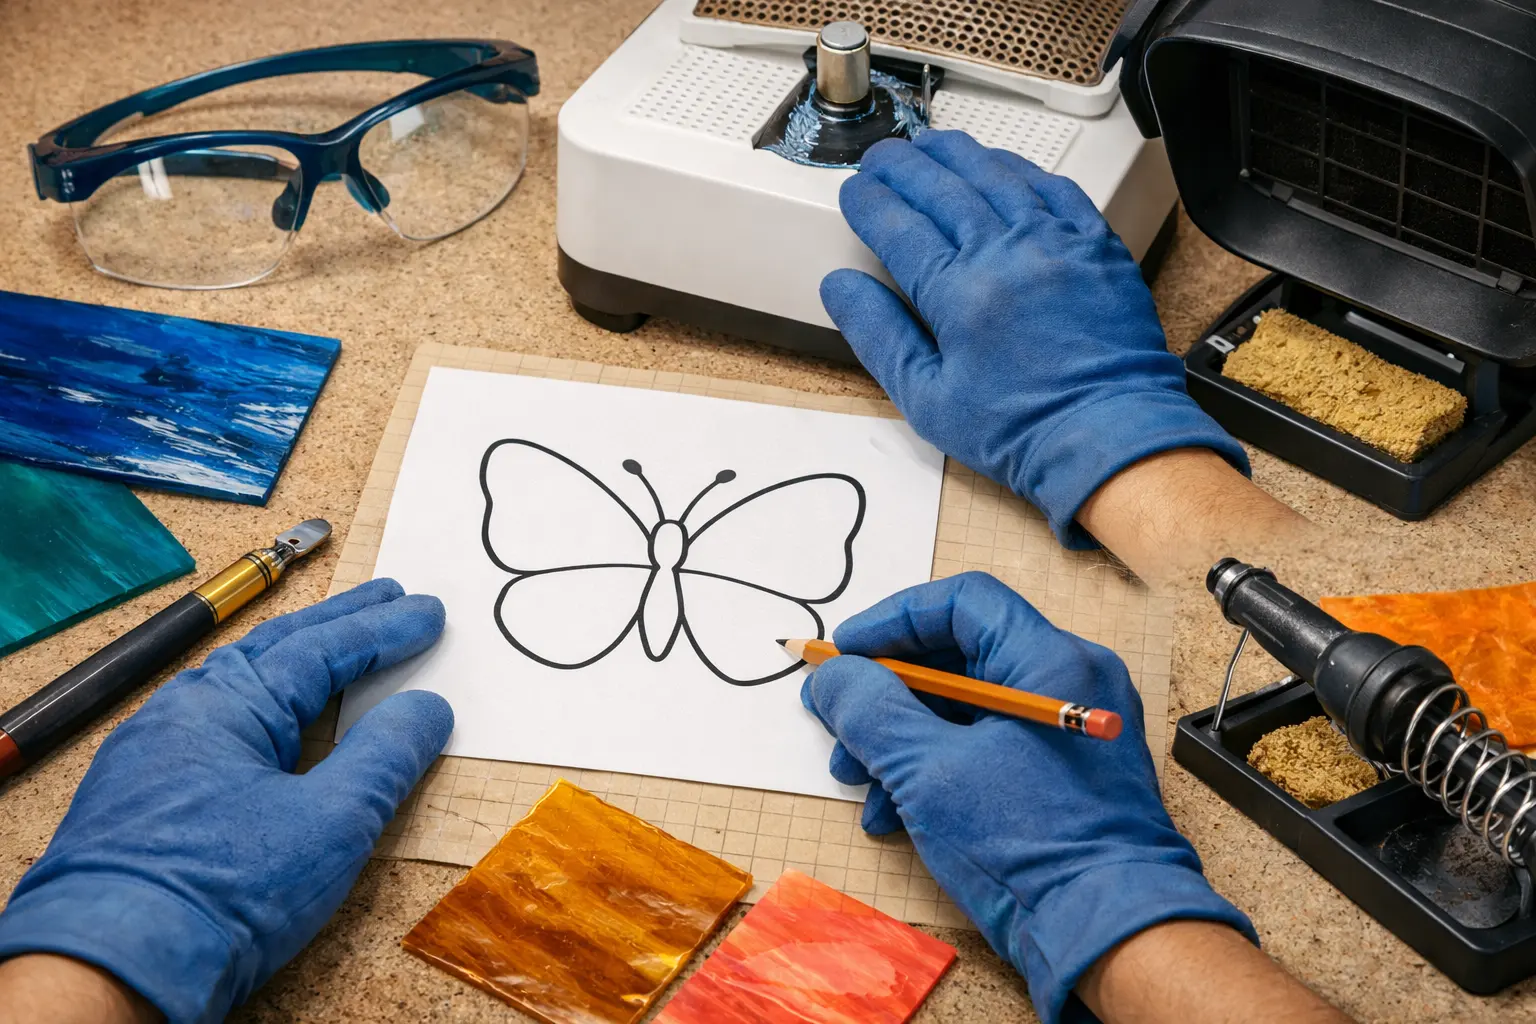
Choose a compact outline without deep sharp notches or wafer-thin glass antennae.
Step 2: Draw full-size and mirrored wing references
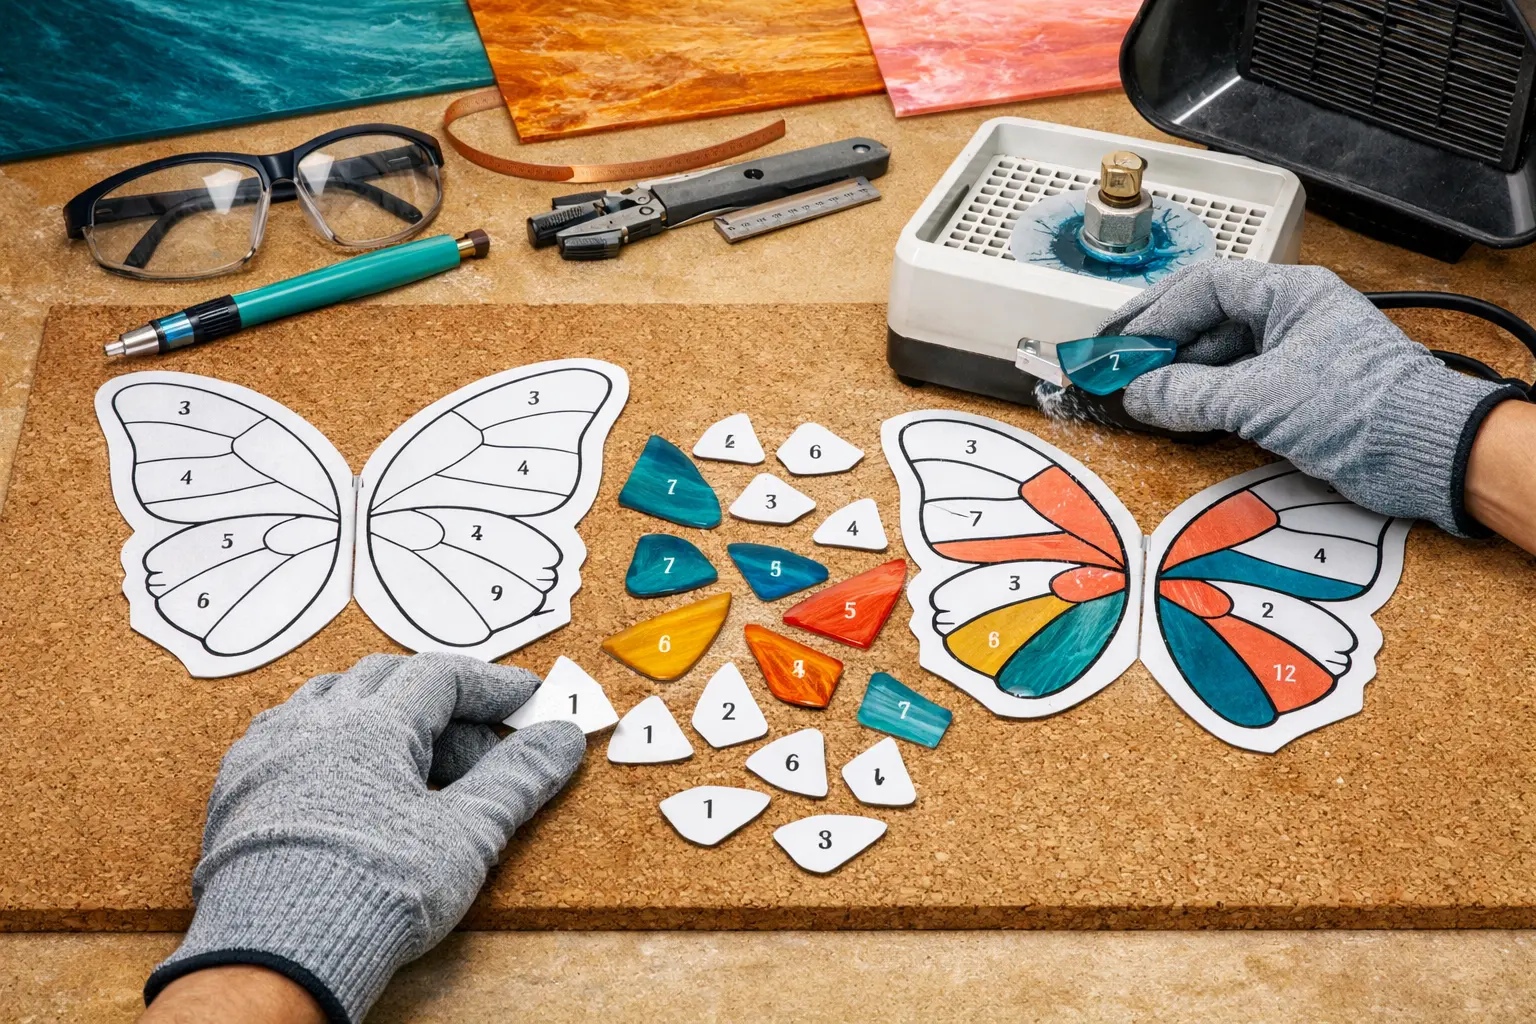
Make a master pattern and separate the numbered cut pieces.
Step 3: Select three or four complementary art-glass tones
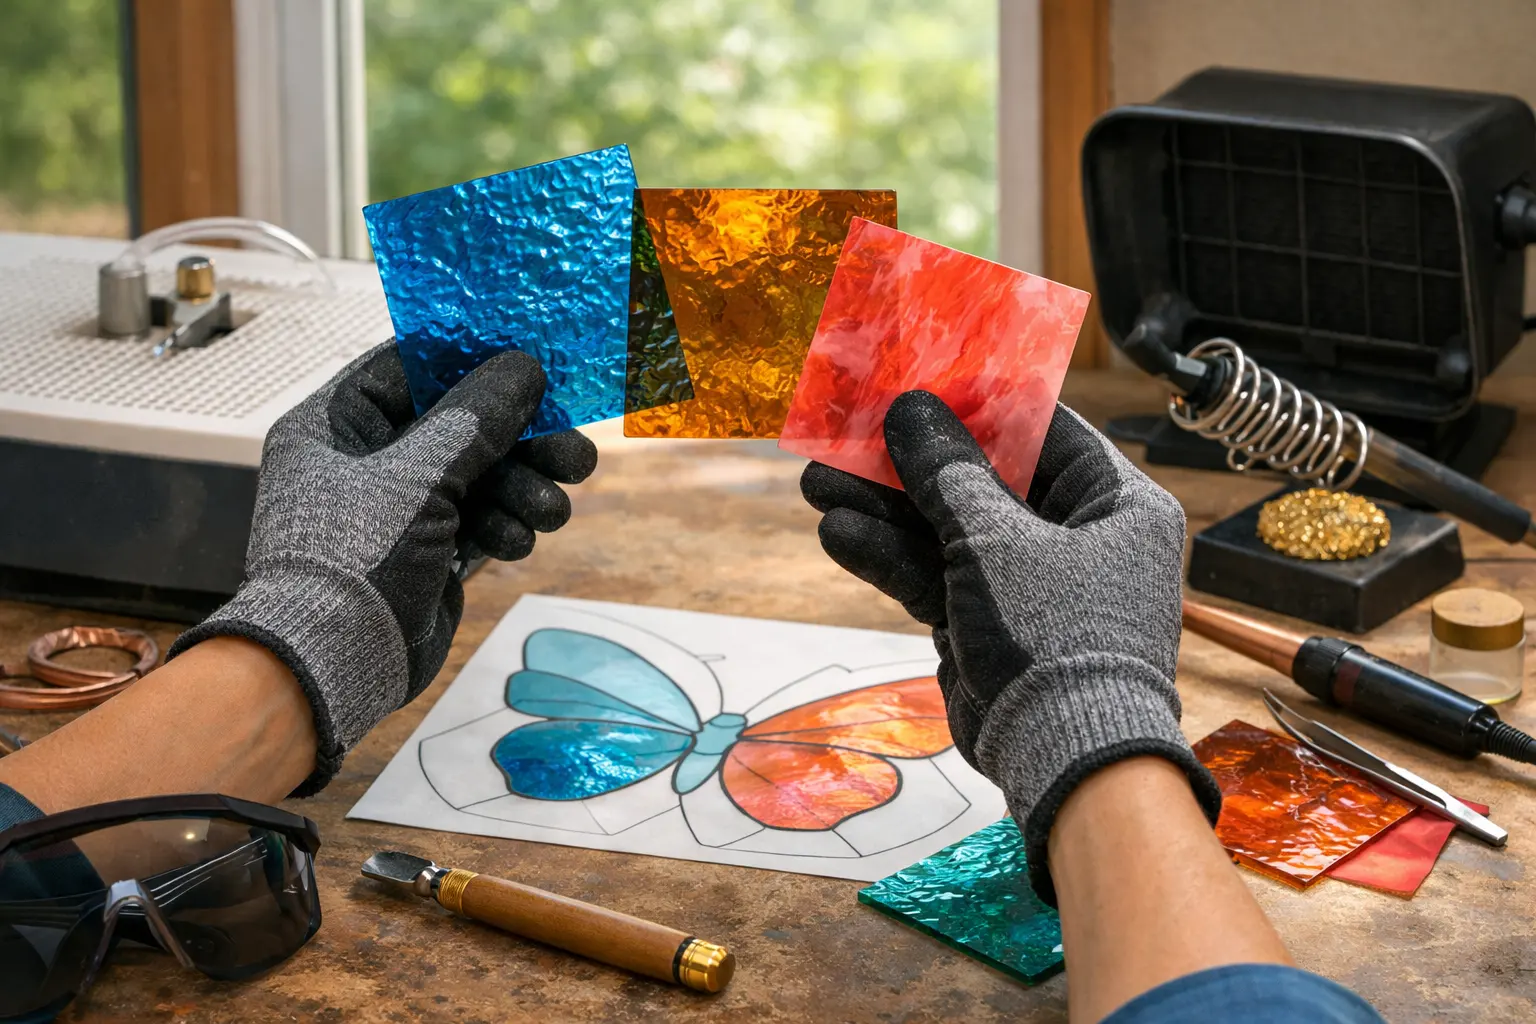
View sample glass in daylight and check actual thickness and texture.
Step 4: Score, break and wet-grind each part
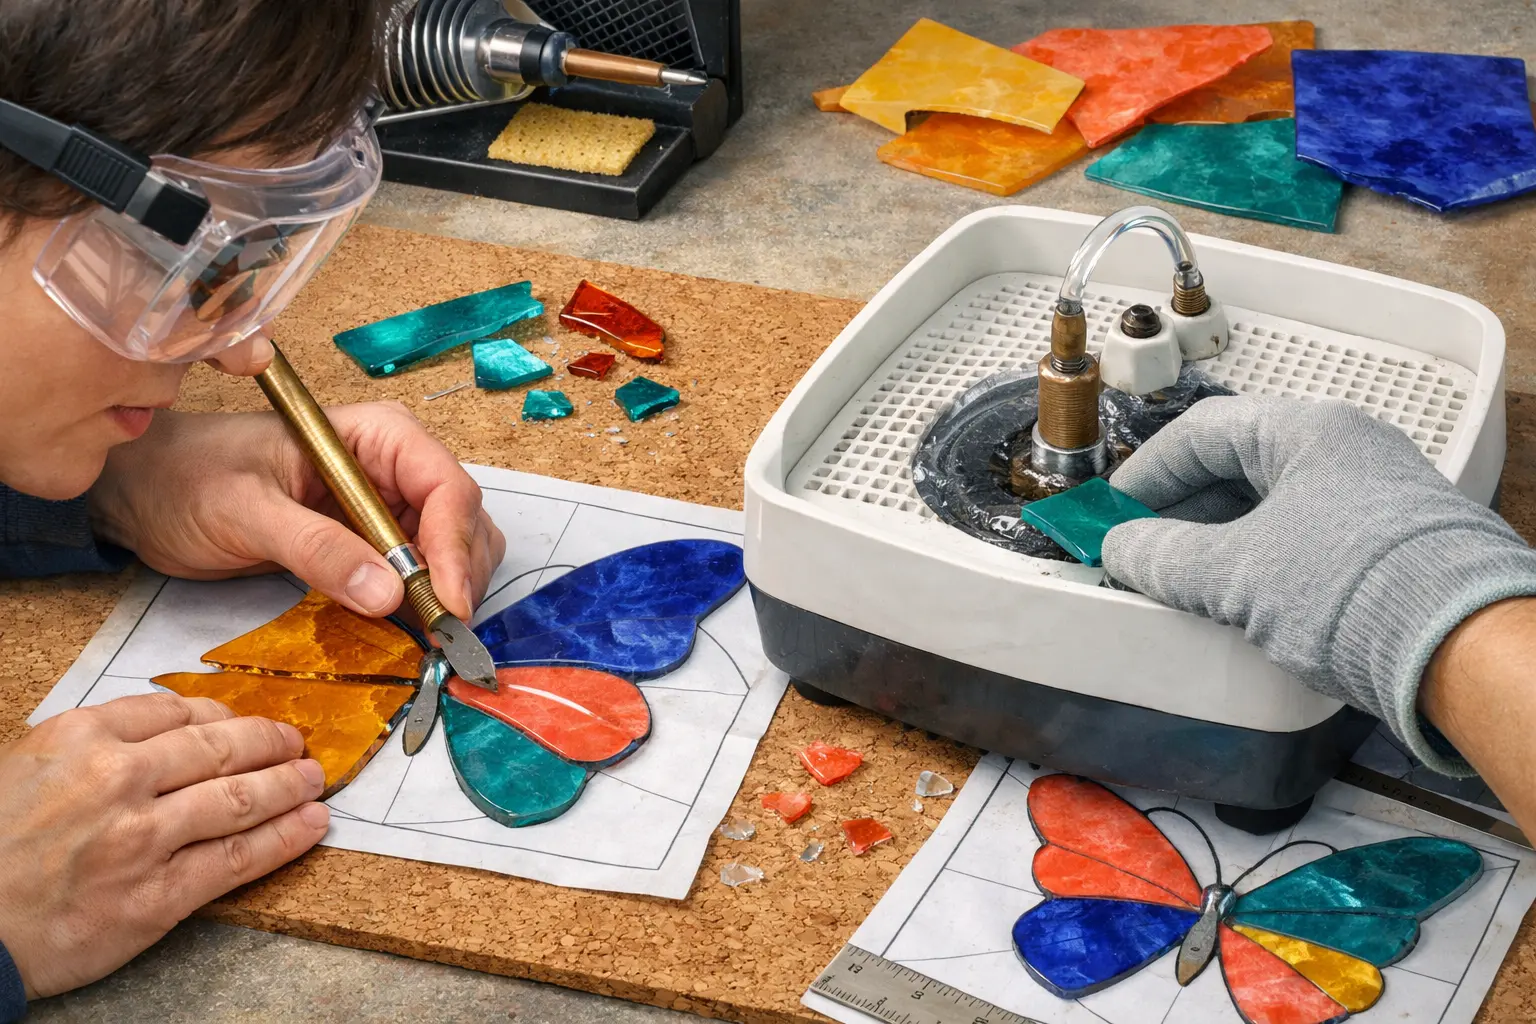
Work from larger waste sections to the final outline and check against the master.
Step 5: Clean, foil and assemble symmetrically
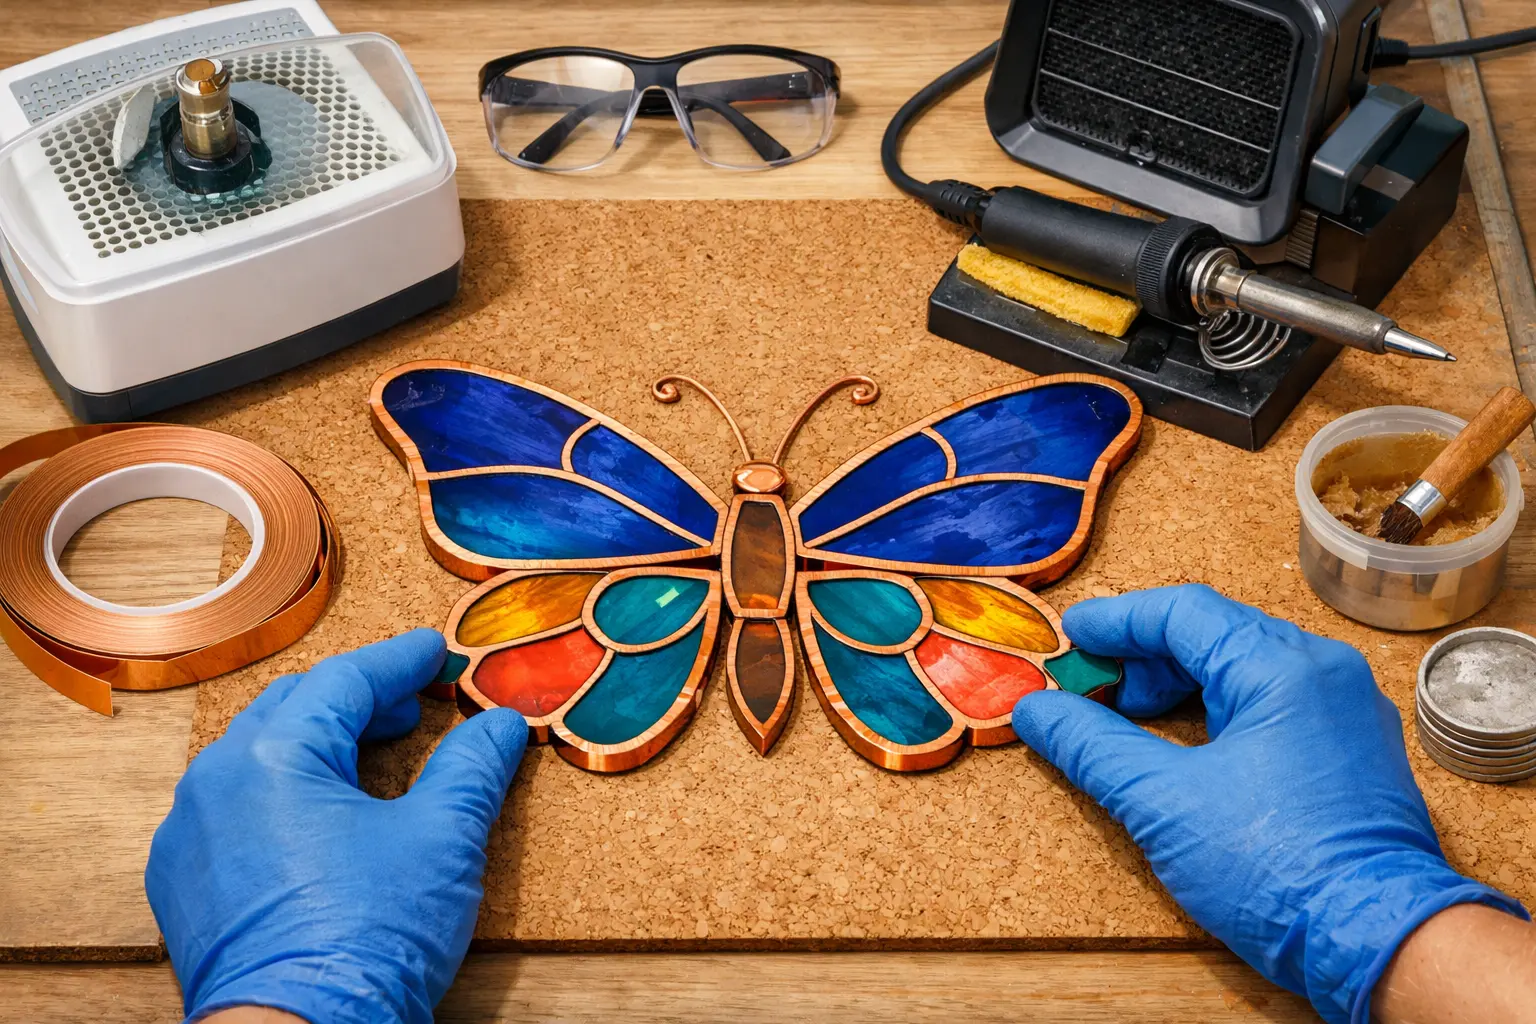
Burnish copper foil and arrange all pieces on a heat-safe work surface.
Step 6: Solder and add structurally planned hanging hardware
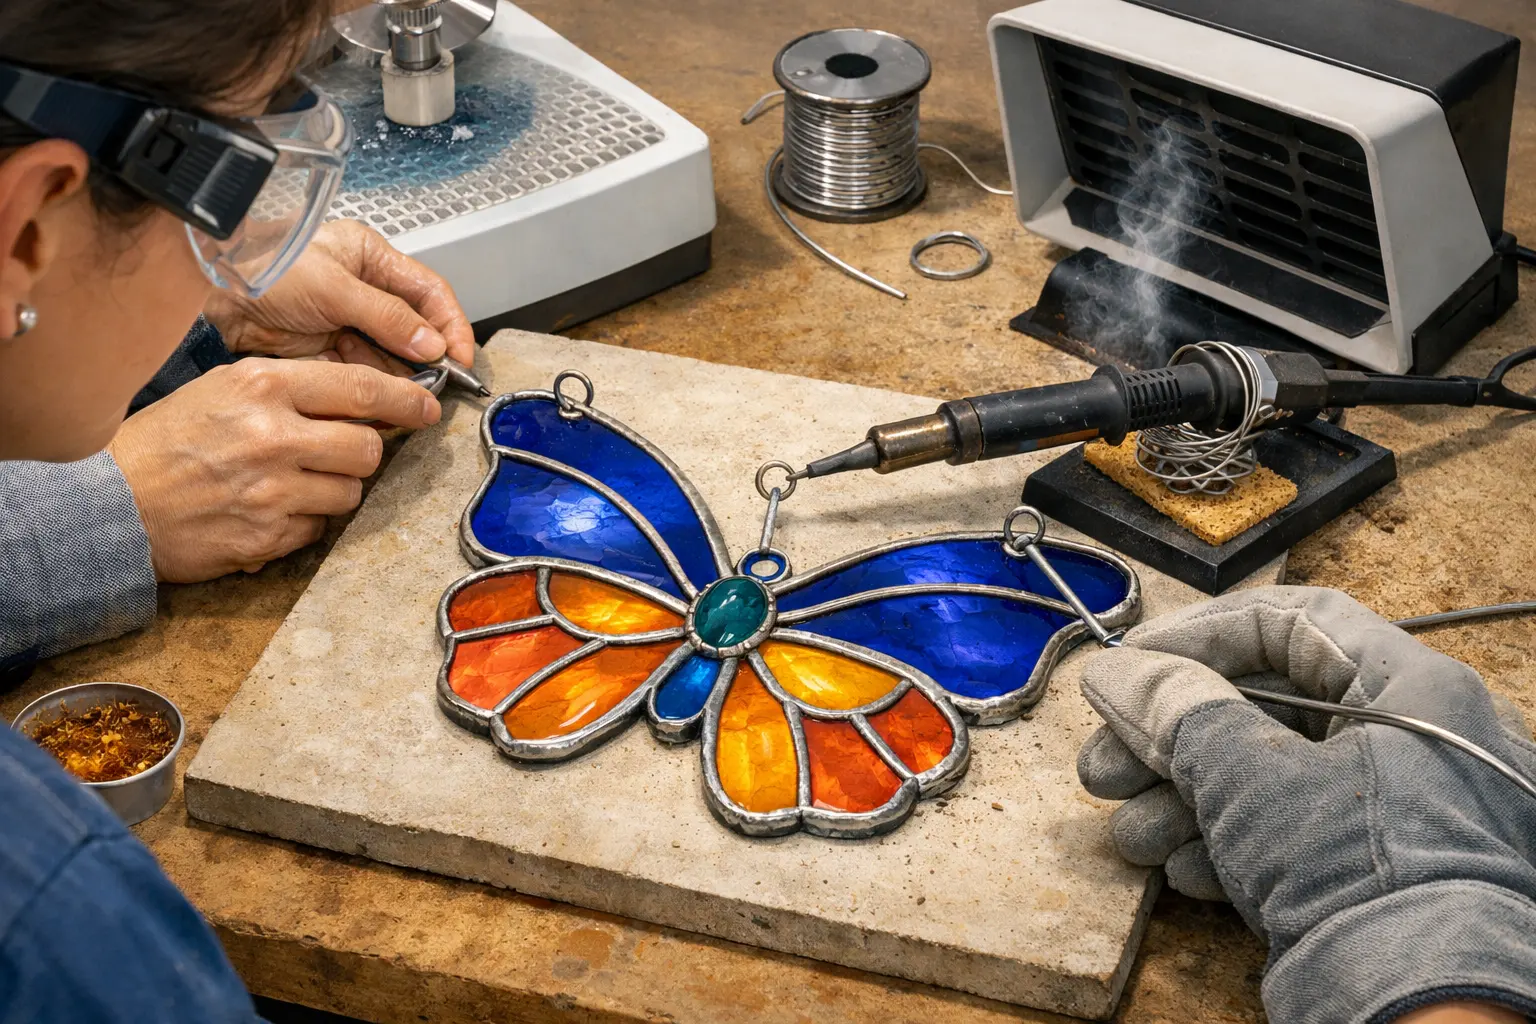
Use safe soldering methods with ventilation and appropriate load-bearing connections.
Step 7: Cool, clean and inspect the hanging piece
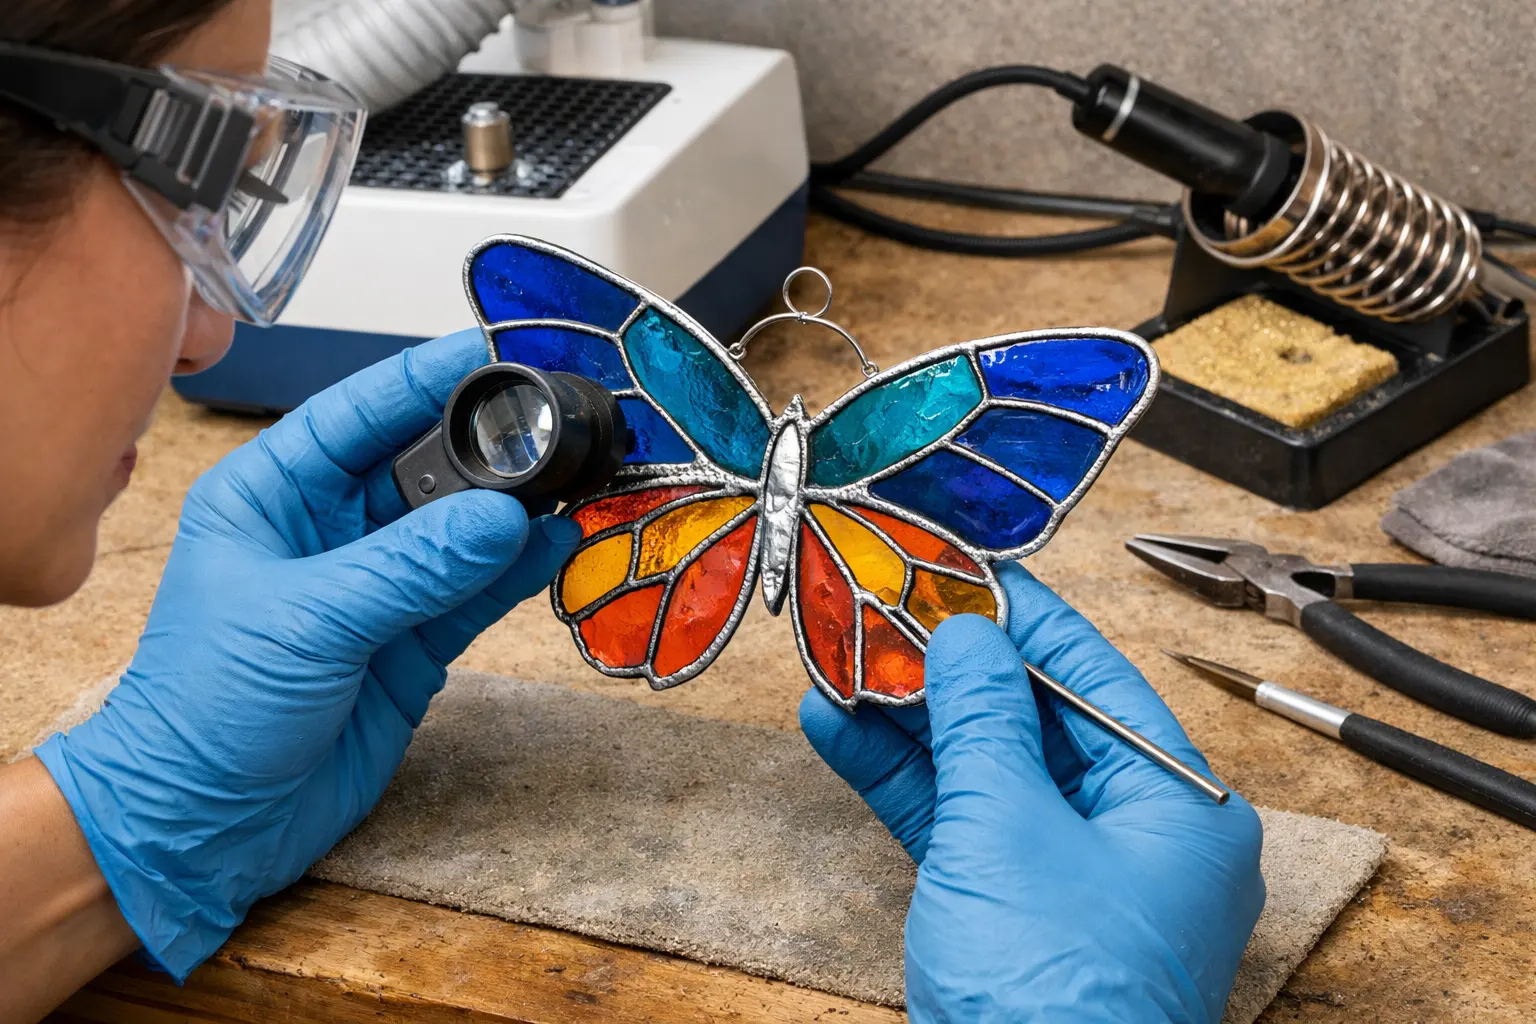
Look for cracks, loose foil, sharp metal and unbalanced weight before display.
Shopping: search for the relevant tool or material
Use the search below to compare currently available Amazon listings. This is a search, not a claim that an exact model, alloy or accessory has been verified or is in stock. Check manufacturer compatibility before purchasing.
Frequently asked questions
Can the antennae be cut as glass?
Very narrow projecting glass antennae are fragile. A well-designed metal accent may be more practical.
Can I copy an online butterfly pattern?
Check the creator’s license and sharing permissions. This page describes planning principles, not an unlicensed downloadable pattern.
Continue with a related guide
Read the linked guides for the connected cutting, grinding, foiling and equipment decisions that affect this topic.
- How to Make a Stained Glass Suncatcher
- How to Choose a Beginner Stained Glass Pattern
- How to Add Hanging Rings to a Stained Glass Suncatcher
Sources and manuals
- Delphi Glass — How to Cut Glass: The Basicswww.delphiglass.com
- Delphi Glass — Beginner stained glass foil method (PDF)images.delphiglass.com
- CDC/NIOSH — Lead exposure preventionwww.cdc.gov